This Gluten Free Millet Bread is a recipe for you, especially if you're new to baking yeast bread. If you're a bit nervous, but ready to try, get the ingredients then follow the steps to success. Read the recipe through before you start and time it so you can enjoy a slice of bread, warm from the oven.
Use this millet bread to make avocado toast, Croque Monsieur or any of your favourite sandwiches. With the right mindset you can enjoy the process of learning to bake gluten free bread. Talk about the taste, texture and mouthfeel as you learn to compare all the baked goods you make.
Jump to:
🍞 Ingredients
With just millet flour, psyllium husks and a regular loaf pan, this is a great first recipe for gluten free bakers. I always have millet flour and psyllium husks in my pantry; millet flour for my everyday flour blend and psyllium for cinnamon rolls and pizza dough.
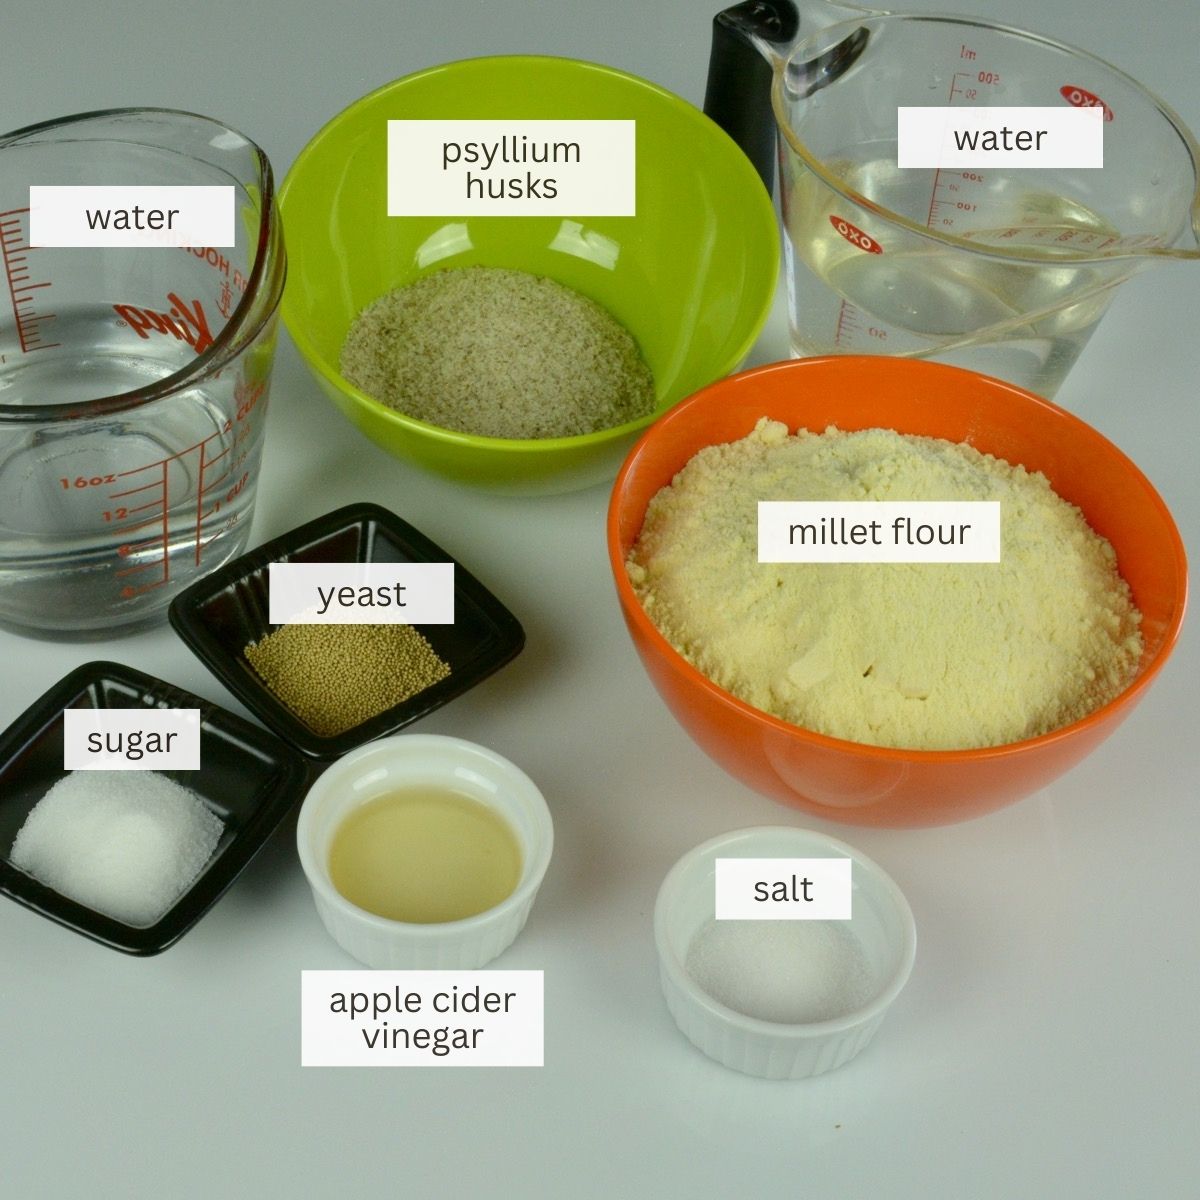
- Active dry yeast - Yeast can get complicated. For this recipe we're using the packaged yeast you find in the baking aisle of any grocery store. Buy either the 3-packets or a small jar. Check the expiry date before you buy and store it in the fridge.
- Apple cider vinegar - The acidity of vinegar helps to activate the yeast, improve the structure and act as a preservative.
- Baking Powder - I forgot to include baking powder in the photo above but it does help to lighten the texture of this bread.
- Psyllium husks - This binder has a high viscosity so is able to bind water more effectively than xanthan gum. It creates a sturdy network with the proteins in gluten free flours. Once you make the gel you'll know why this ingredient is used to create structure.
- Millet flour - This easily digestible grain flour has a mild, sweet, nutty taste that works in both savoury and sweet recipes. It helps build structure in dough and can be used as a sprinkling flour for baking.
See recipe card for exact amounts.
Instructions
When baking with yeast follow the steps to avoid disappointment, if you can do that you can make bread. If you're the person who likes to "wing it" in the kitchen, yeast bread recipes are where you need to make yourself measure precisely and follow the instructions.
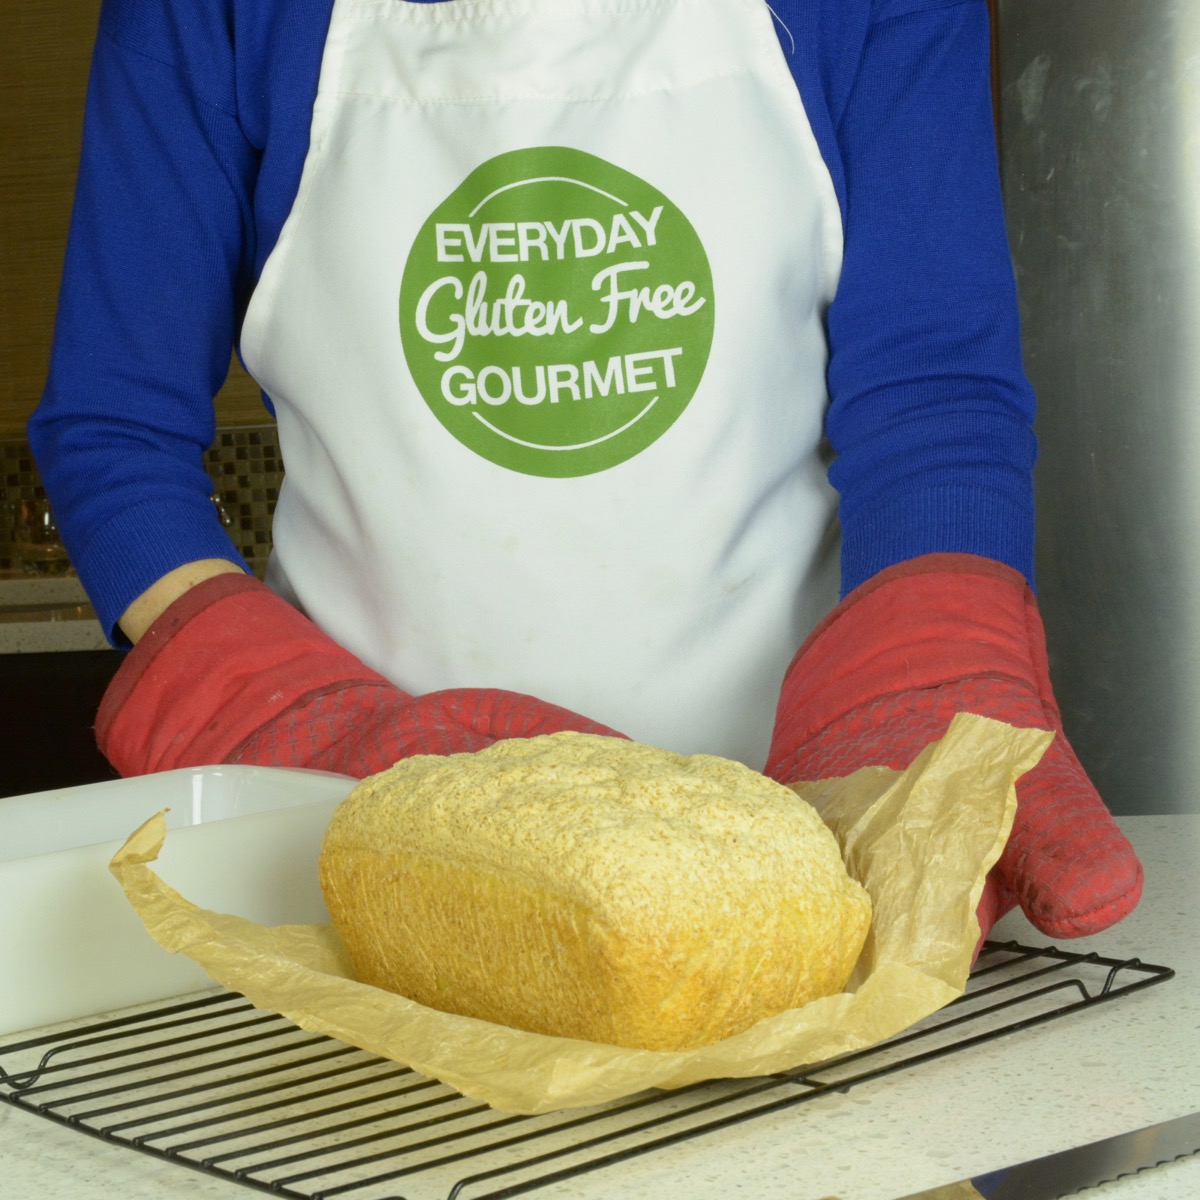
Substitutions
In this recipe I do not recommend substitutions, except for the yeast.
Psyllium husks - Do not substitute or omit.
Active dry yeast (ADY) - You can substitute instant yeast for ADY. Instant yeast should be used in equal amounts and doesn't need to be proofed. It is typically added to the dry ingredients and slowly dissolves in the dough. This means you skip the step of blooming the yeast and it requires less rise time.
Variations
If you're adventurous you can season the bread with herbs and spices as you wish. This recipe is aimed at helping those new to gluten free yeast breads so I'm keeping it plain to focus on the process including the final taste, texture and mouthfeel.
Equipment
A regular loaf pan is all you need to get started. A digital scale and digital thermometer are highly recommended for gluten free bakers. I like this InkBird thermometer with a USB charger instead of batteries.
If you're serious about bread making you'll want to invest in a Pullman Pan, especially if you want to make perfectly square slices of bread for sandwiches.
Storage
Gluten free baked goods go stale faster than wheat products. To improve freshness slice and store your bread as soon as it has cooled completely. It can be kept in the fridge for three days but if you're going to freeze it you might as well freeze it right away. As with all bread it can be toasted from frozen.
Top Tip
Enjoy the process, bread-making is an art. For best results use weight measurements and a digital thermometer. I recommend you make this recipe once a week for three weeks. Keep good notes paying attention to the pan, rise time, cook time and cooling time. There are many variables but after three times you will have more confidence with the process and this will inspire you to try more gluten free yeast bread recipes.
Recipe FAQs
Active dry yeast can also be called traditional dry yeast or baker's yeast.
Instant yeast is can also be called quick-rise yeast, rapid rise yeast, fast-acting yeast or bread machine yeast.
Yeast breads take time and effort so I would not recommend trying a different flour. In a muffin recipe I would substitute millet flour with either sorghum flour or oat flour. Therefore, if I was short 50 grams of millet flour for this recipe, I might try one of those but I can't guarantee the recipe would work as well.
All yeast should be stored in the fridge and used before the expiry date. Check the date before you buy it.


Gluten Free Millet Bread
Equipment
- 1 Pullman pan with lid 9-inch x 4-inch
Ingredients
Yeast Mixture
- 265 grams water 110-115℉
- 7 g active dry yeast (1½ tsp)
- 8 g sugar (2 tsp)
Psyllium Gel
- 300 g water cold or room temperature
- 16 g apple cider vinegar (1 Tbsp)
- 26 g psyllium husks (5 tablespoons + 1 tsp)
Dough
- 400 g millet flour
- 7 g salt (1 tsp)
- 4 g baking powder (1 tsp)
Instructions
Activate yeast
- Run tap water until very hot, fill a cup and confirm the correct temperature, 110-115°F.
- Measure 265 grams of water.
- Add sugar and yeast, stir. Cover and let sit for 10-15 minutes until frothy on top.
Make psyllium gel
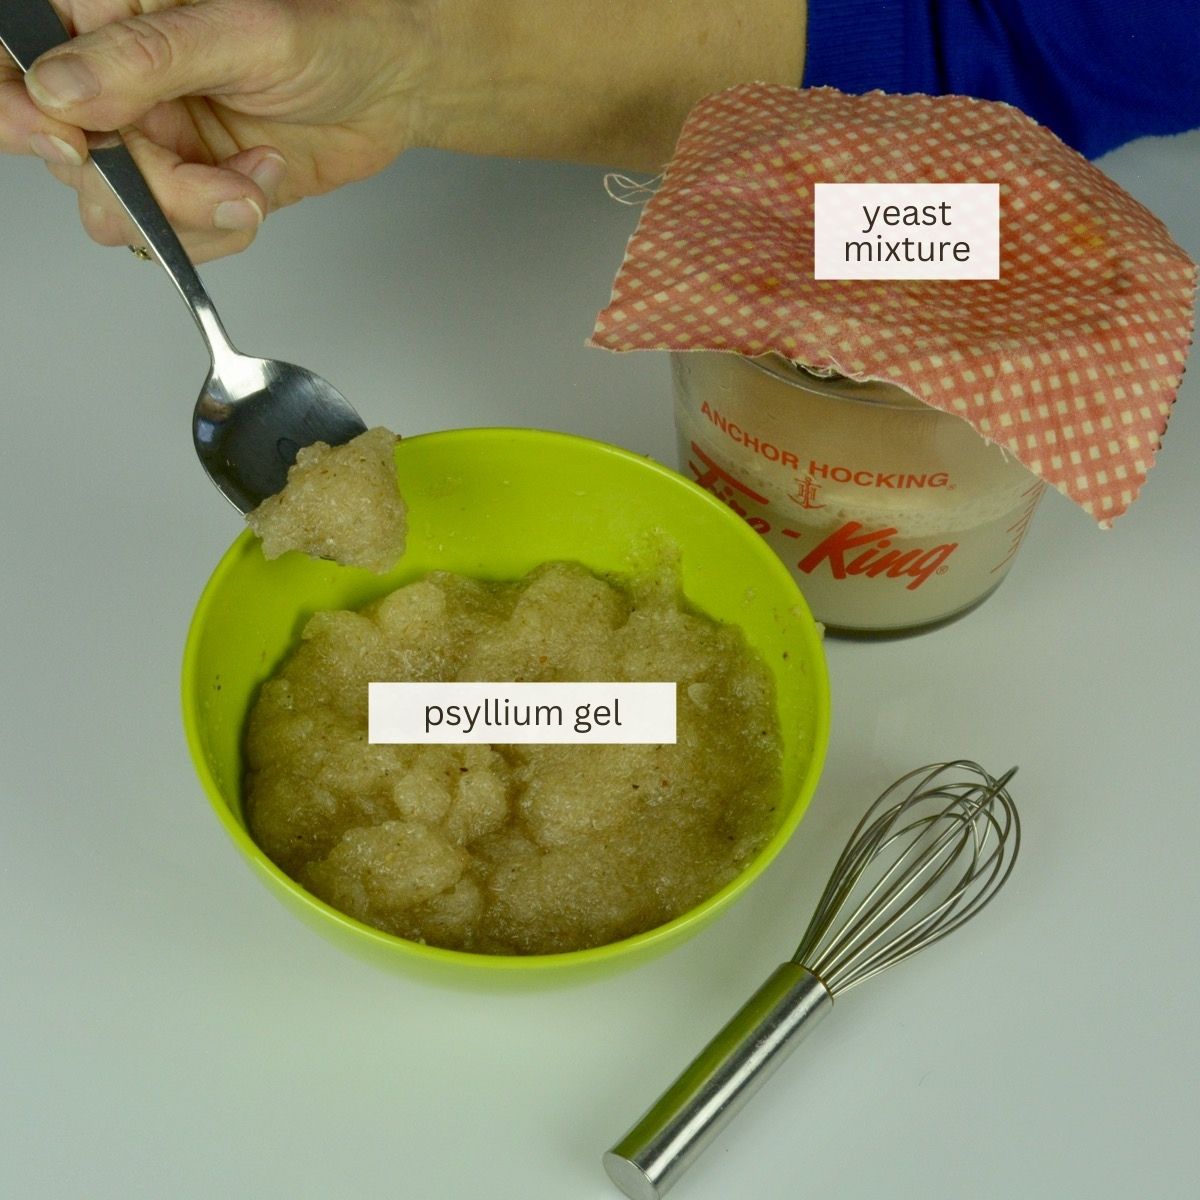
- Combine 300 g room temperature water and cider vinegar in a small bowl. Sprinkle psyllium husks over the water and immediately whisk to combine. Set aside to gel, about 10 minutes. See note 1.
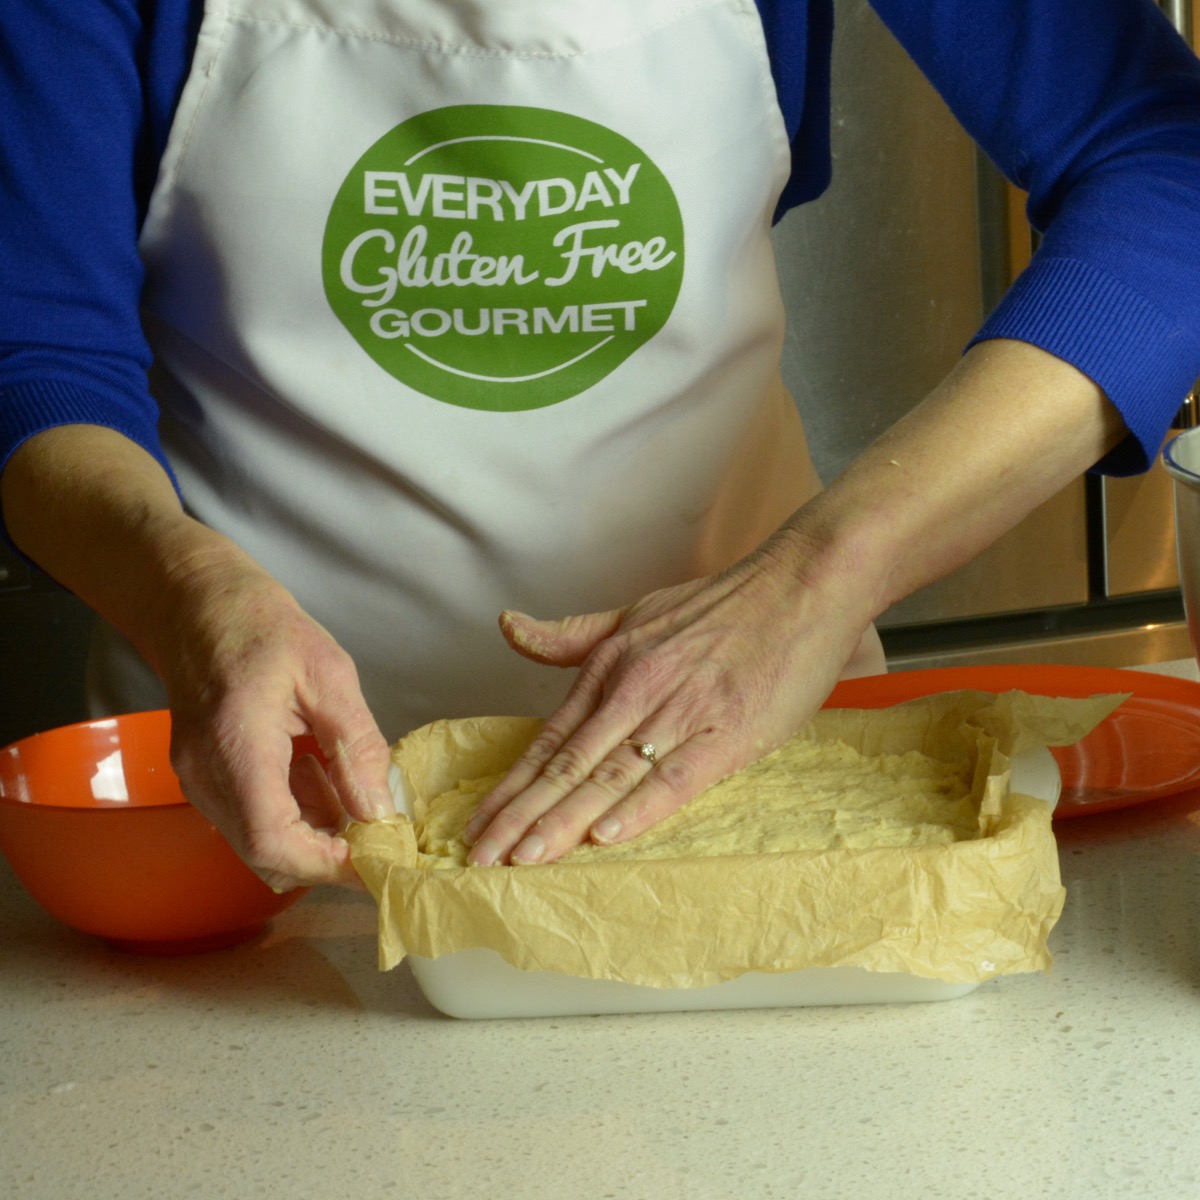
- While the psyllium gel is forming line a standard 9-inch by 5-inch loaf pan with parchment paper. See note 2.
Mix dough
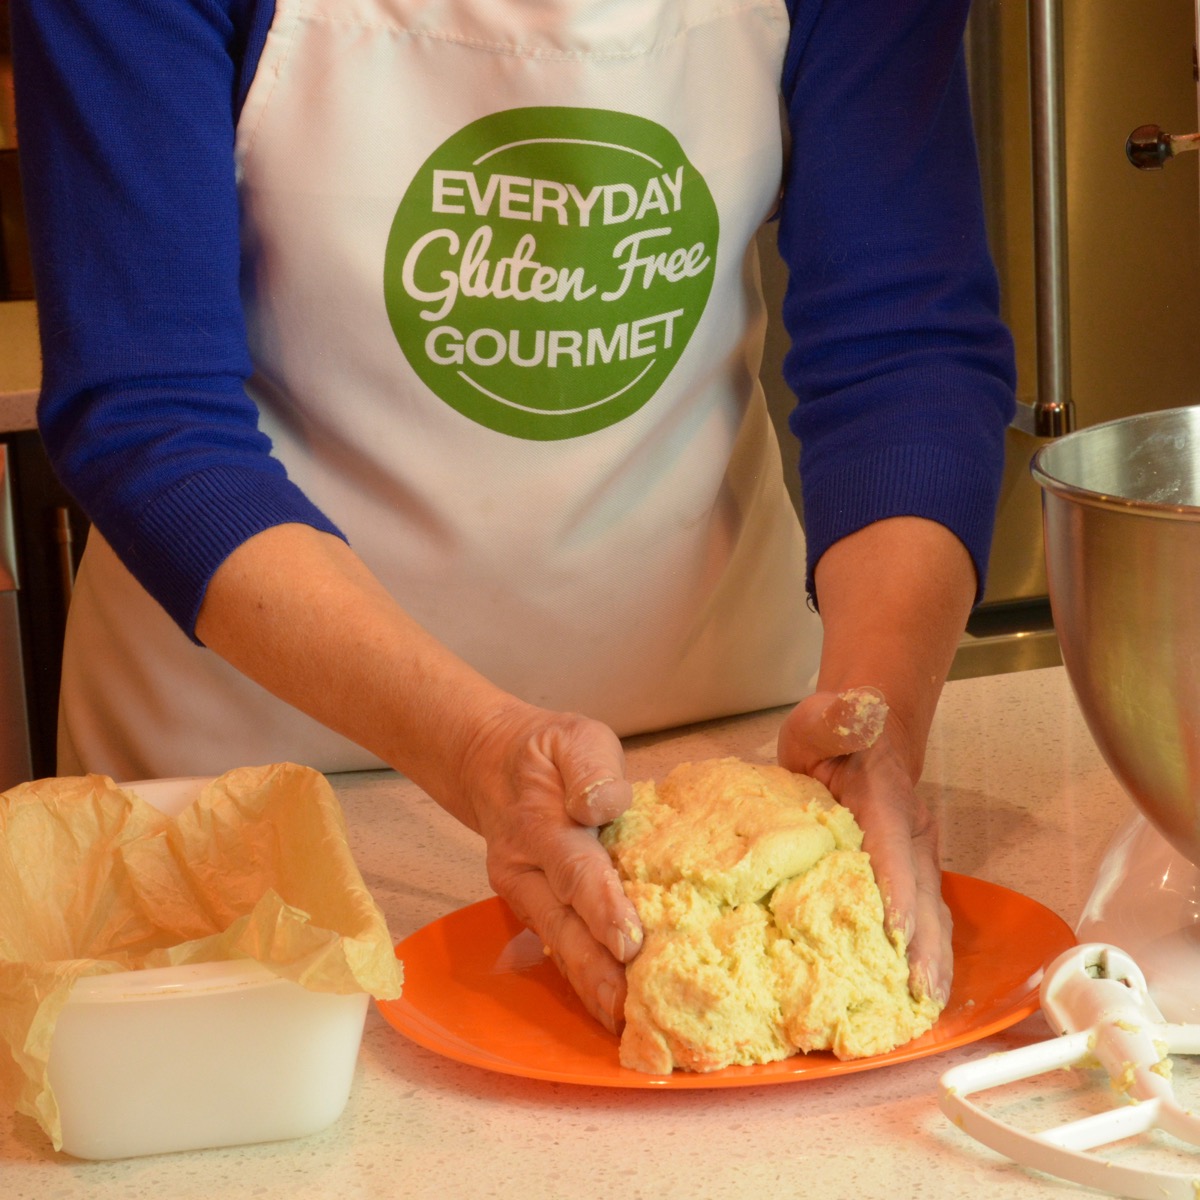
- In the large bowl of a stand mixer add millet flour, salt and baking powder. Add yeast mixture and psyllium gel then mix until an even dough is formed, about 5 minutes.
- Dough will be sticky. Use wet hands to transfer into prepared pan, smooth the top.
Rise
- Cover with a tea towel and let rise in a draft-free area until bread comes to the top of the pan, no higher, 35-40 minutes.
- Preheat oven to 350°F.
Bake
- Bake for 1½ hours. Internal temperature should be 205–210°F. See note 3.
- Transfer loaf pan to wire cooling rack. Wait 15-20 minutes before cutting the first slice to enjoy warm. Allow the remainder of the loaf to cool completely.
- Slice and store in air tight container for 3 days or freeze.
- Makes 12 ½-inch thick slices, about 55 grams each.
Notes
- The ideal temperature for bread dough to rise is between 75-80°F, slightly warmer than room temperature. Place bread in a draft free area such as in an oven with the light on, on top of a fridge or near a stove.
- Once cooked this bread will be quite pale in colour and take longer to brown when toasting, compared to wheat bread.
- For perfectly square bread invest in a Pullman loaf pan with straight sides, square corners and a lid.This will make perfectly square sandwich bread.
- A standard loaf pan is 9-inches by 5-inches but all pans vary slightly. Pay attention to the cook time and make good notes.
Nutrition
__________________________________________________________________________
New here? Overwhelmed or frustrated? Get started with these 29 Tips about GF flour and get cooking. I can help you learn to cook gluten free food everyone wants to eat, and have fun doing it.
🎉 Exciting news! Adventures in a Gluten Free Kitchen, a membership for gluten free cooks, is coming soon. Click to learn more and join the waitlist!
_________________________________________________________________________









Tara
Love this recipe, the tin is key, makes the best textured bread. I am not gluten intolerant but love this bread
Cinde Little
Hi Tara, thanks for letting me know. I wanted to share a recipe that I thought was pretty easy (just 1 flour) and I like it too. A Pullman pan is the best kept secret to make bread for sandwiches! It's not really a secret but I never heard of it until I started cooking gluten free. Enjoy!
giri
lieben dank für ihre ausführungen. da ich kein hirse mehl hier finde, kann ich nur mit sorghum mehl (-körner) arbeiten. backe brote. würde dieses rezept auch mit sorghum mehl funktionieren? beide sorten gehören zu den süssgraessern.
danke
Cinde Little
Hi Giri! Here's your question in English for my readers: thank you very much for your explanation. since I can't find any millet flour here, I can only work with sorghum flour (grains). I bake bread. would this recipe also work with sorghum flour? both types belong to the sweet grasses. thank you.
Here's my answer: I've never made this recipe with sorghum flour so can't be sure it will work, yet I do think it's worth a try. I did a quick search and found a recipe for GF Sorghum bread on the gluten free website, Natasha's Home, that is very similar. Best of luck and let me know how it turns out.
Kw
This looks delish! can this be done without yeast and with sourdough?
Cinde Little
Hi Grace! Yes, I think you can give it a try. I haven't learned about sourdough so I don't have any recommendations for you. If you're curious I say try it. Happy baking!