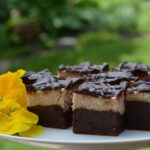
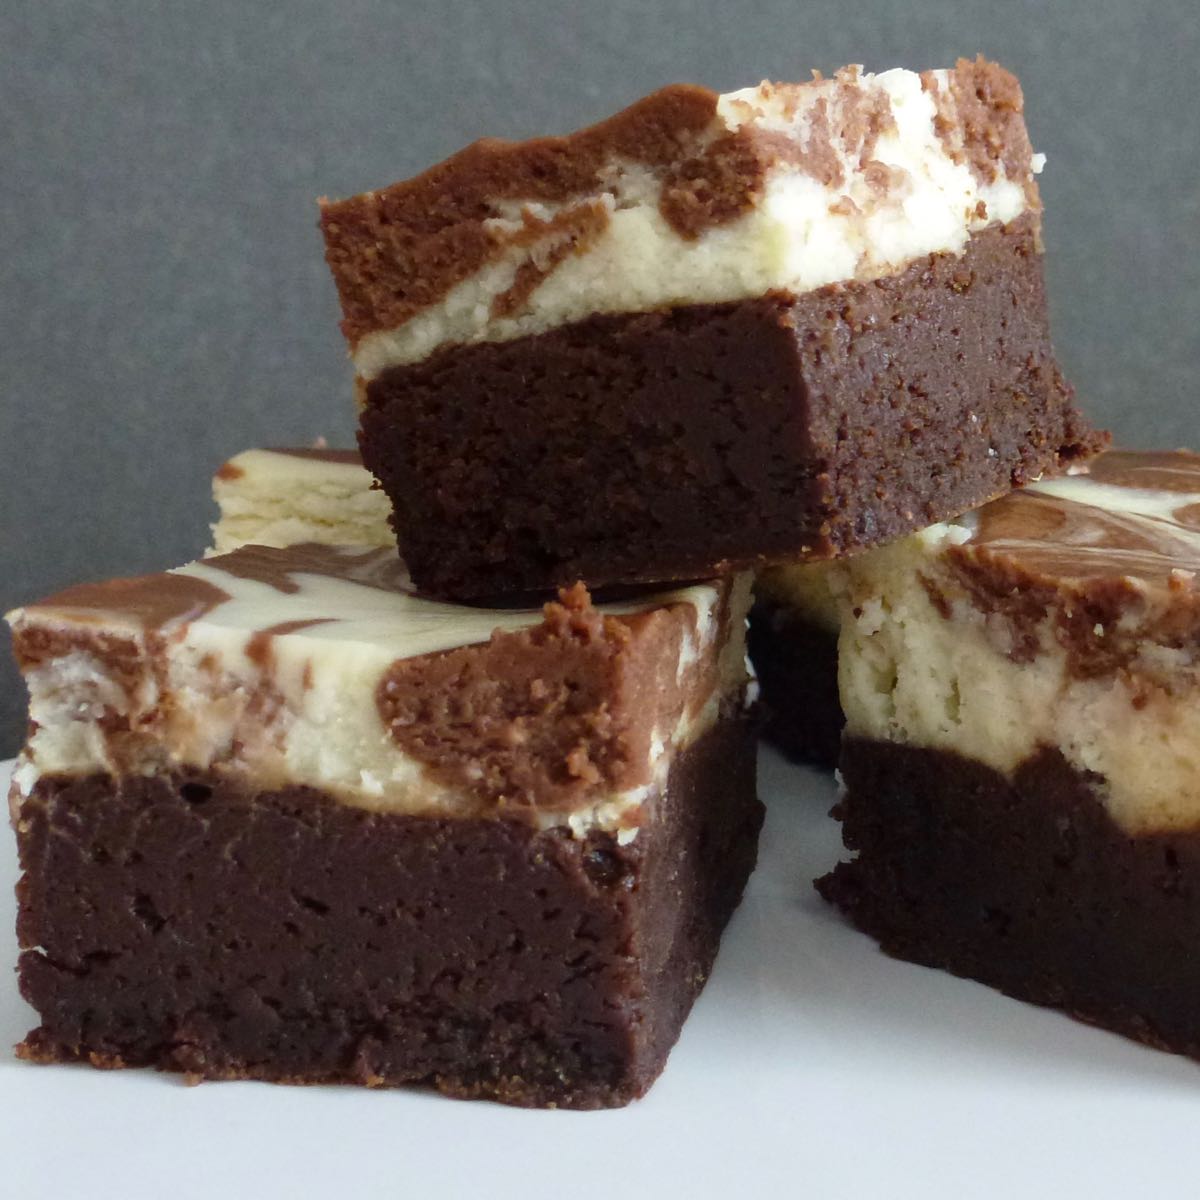
These gluten free Chocolate Cheesecake Brownies are fudgy and fabulous. Made with a single flour, this is the kind of recipe that appeals to everyday cooks who "want" to cook for you. Quinoa flour is readily available and easy to use so share this recipe with family and friends.
Just like the grain quinoa, the flour is high in fibre and protein. That doesn't exactly make these sugar-laden brownies healthy but it can't hurt to eat more quinoa, right? So once you've got quinoa flour in your kitchen, you'll want to try these Chocolate Chip Cookies or check out this post, How to Use Almond Flour and Quinoa Flour.
Jump to:
Ingredients
If you like to lick the beaters, or dip your finger into cheesecake batter, you may detect a slight bitter taste. Despite the pre-rinsing process manufacturers and processors do, quinoa and quinoa flour does have an unusual taste. The good news is, it disappears during cooking.
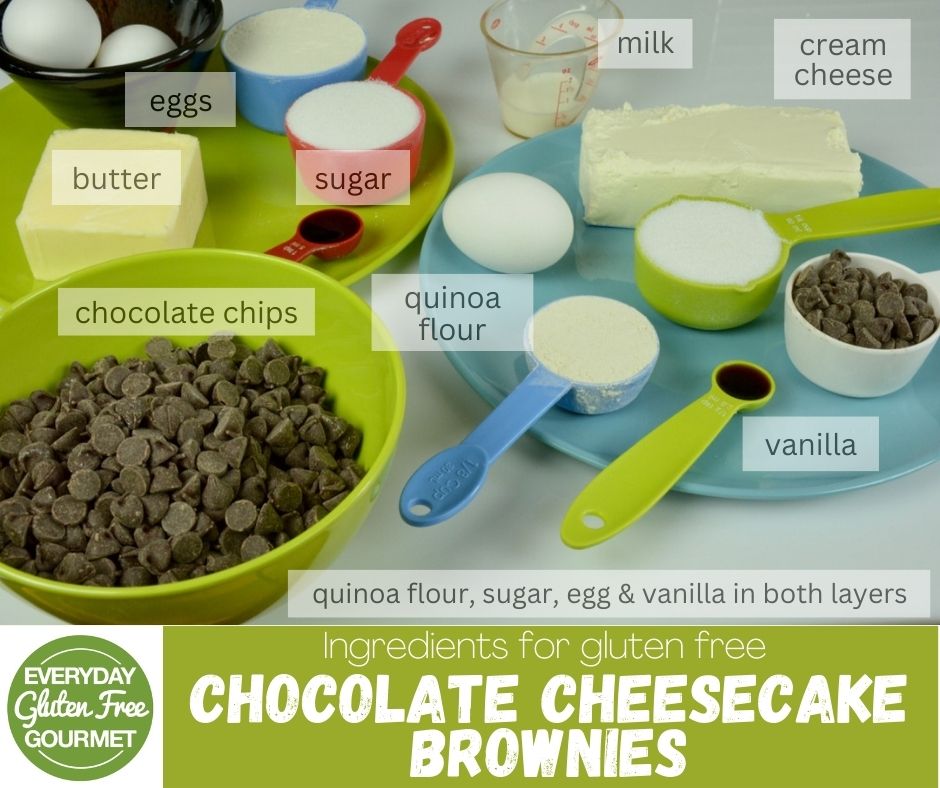
- chocolate chips
- butter
- sugar
- eggs
- vanilla extract
- quinoa flour - certified gluten free and ready available (near me) at the Real Canadian Superstore
- cream cheese
- milk
See recipe card for exact amounts.
Instructions
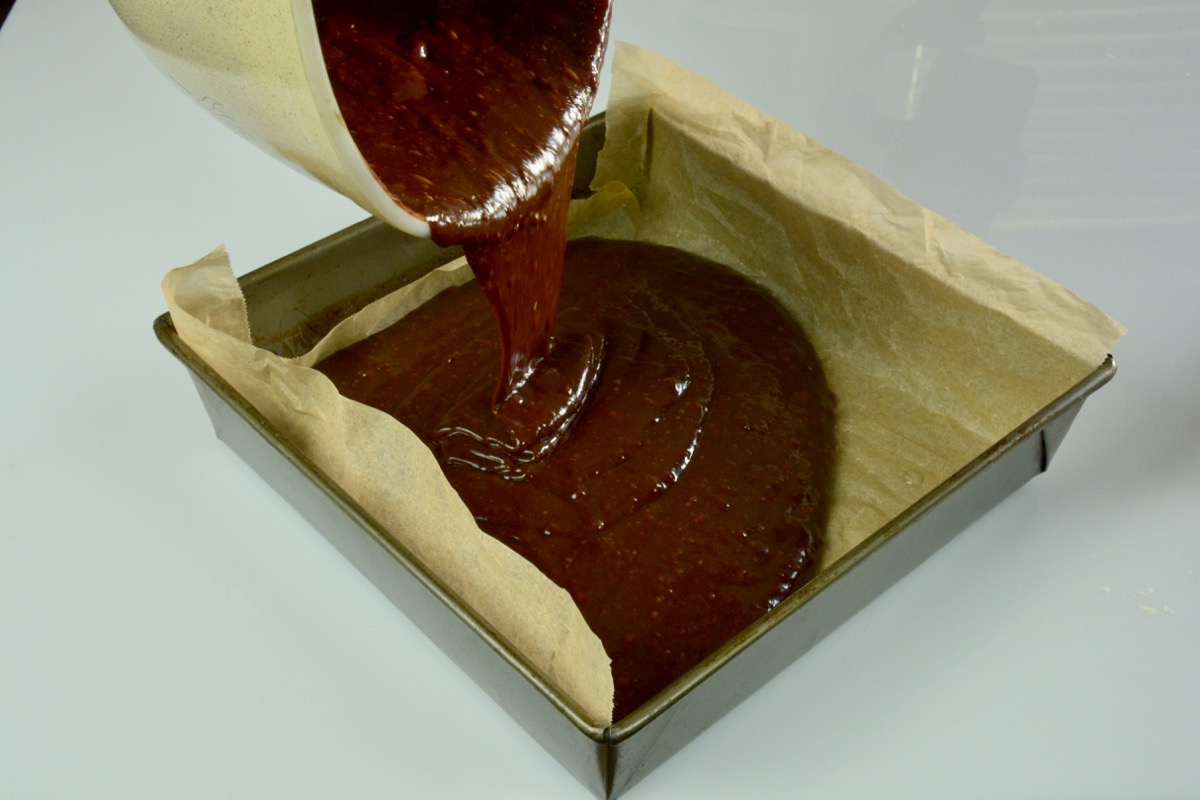
Lining the pan - Rather than covering all four sides of the pan, create a sling by measuring the paper so it is the width of the bottom but comes over two edges of the pan. This makes transferring the entire brownie easy to a cutting board easy.
Paper - Parchment is easier to work if you scrunch it up under running water. Try it! Tin foil is the old fashioned way and it works too.
Layering the filling - Pour wide ribbons of cheesecake onto the brownie layer by moving the bowl back and forth across the whole pan.

How To Make Chocolate Swirls
After mixing some of the cheesecake batter with melted chocolate chips blob it on top in any random pattern. Then grab a knife, wooden skewer or spreader and have fun drawing it through the top layer and seeing what kind of patterns you can make.


How To Cut a Cheesecake Brownie
The hot knife method for cutting cheesecake is the same for cutting all brownies. Feel free to eyeball it with a big knife or use a ruler to make even size pieces. The method is the same.
- Dip a knife into hot water. This can be in a sink, a tall glass or under a running tap.
- Wipe it off with a cloth between each cut. There will still be some cheesecake brownie on the knife that can be carefully removed with a cloth. If you can't stand food waste use a small spreader, or your finger, and eat as you go like I do.
For those perfect edges you see in photos follow this slightly tedious, but delicious, process. This is my quality control measure to ensure I'm sharing only the highest quality home baking.

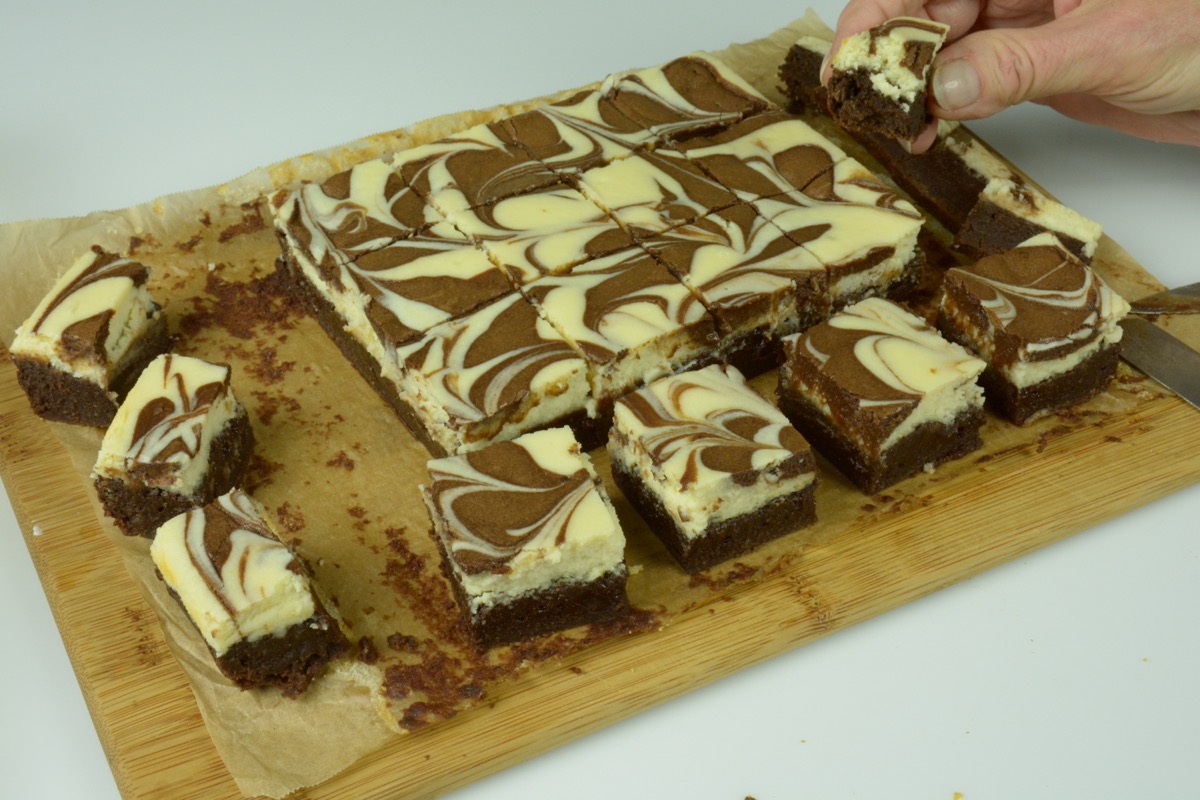
- Cut a thin slice off two sides. Set off to the side for your own taste test. I also give these to certain people labeled Factory Seconds. (You know exactly who will get them, right?)
- Lay a ruler on top of the brownie and make cut marks at 1½ inches intervals in one direction. Repeat at the opposite end of the brownie so you can see exactly where to make the cut. Using a hot knife make 4 cuts. Now you have another long thin piece to add to your taste test pile.
- Turn the brownie a quarter turn and use the ruler to repeat at 1½ inches intervals in the other direction. Using a hot knife make 4 cuts. You will have 16 perfectly cut pieces worthy of any celebration or a surprise treat for no reason at all.
- To serve a larger crowd or have smaller portions cut each brownie on the diagonal for 32 triangles.
Variations
Once you've perfected this recipe at home and you're ready to take it on the road here are two variations. I'm sure you can come up with many more and I'd love to hear about it when you do.
- Mochaccino Cheesecake Brownies for those of you that love coffee with your chocolate.
- Raspberry Swirl Cheesecake Brownies for a decidedly summer treat.
Best Baking Pans and Serving Ideas
Every kitchen needs a few tools and a set of two square baking pans is the most versatile bakeware I have in my kitchen. From granola bars to sushi pizza there's no end to the uses for these pans. Buy a set of two, you'll never be sorry.
- 8-inch square carbon steel baking pan or silicone baking pan.
- I've never tried a 9-inch square stoneware baking dish but they're popular. Just know that your brownies will be slightly thinner (and just as delicious).
- A pedestal tray is always my pick to create an impressive presentation from simple brownies.
- For a surprise presentation that travels well, use an empty pizza box. Find them at neighbourhood pizza joint, a craft store like Michael's or online. Amazon has both white and brown boxes that come in packages of 50 so you might need to share that purchase with a few friends. I also serve my cookie pizza (made with quinoa flour) in those boxes.

Storage
Yes, these brownies freeze well. Double wrap cut brownies in plastic or store in an airtight container. Thaw overnight and enjoy!
Top Tip
Demonstrate what is possible! Living gluten free means being willing to let people learn about your diet, forever. Drop hints, give gifts and set boundaries. Try this idea for friends who want to bake for you and can clean off a counter and get the concept of cross contact.
Arrive with a disposable foil baking pan, a bag of quinoa flour and the ingredients above. Without learning a single thing about gluten free baking, anyone can make these. There are grandmothers that would line up for this recipe!
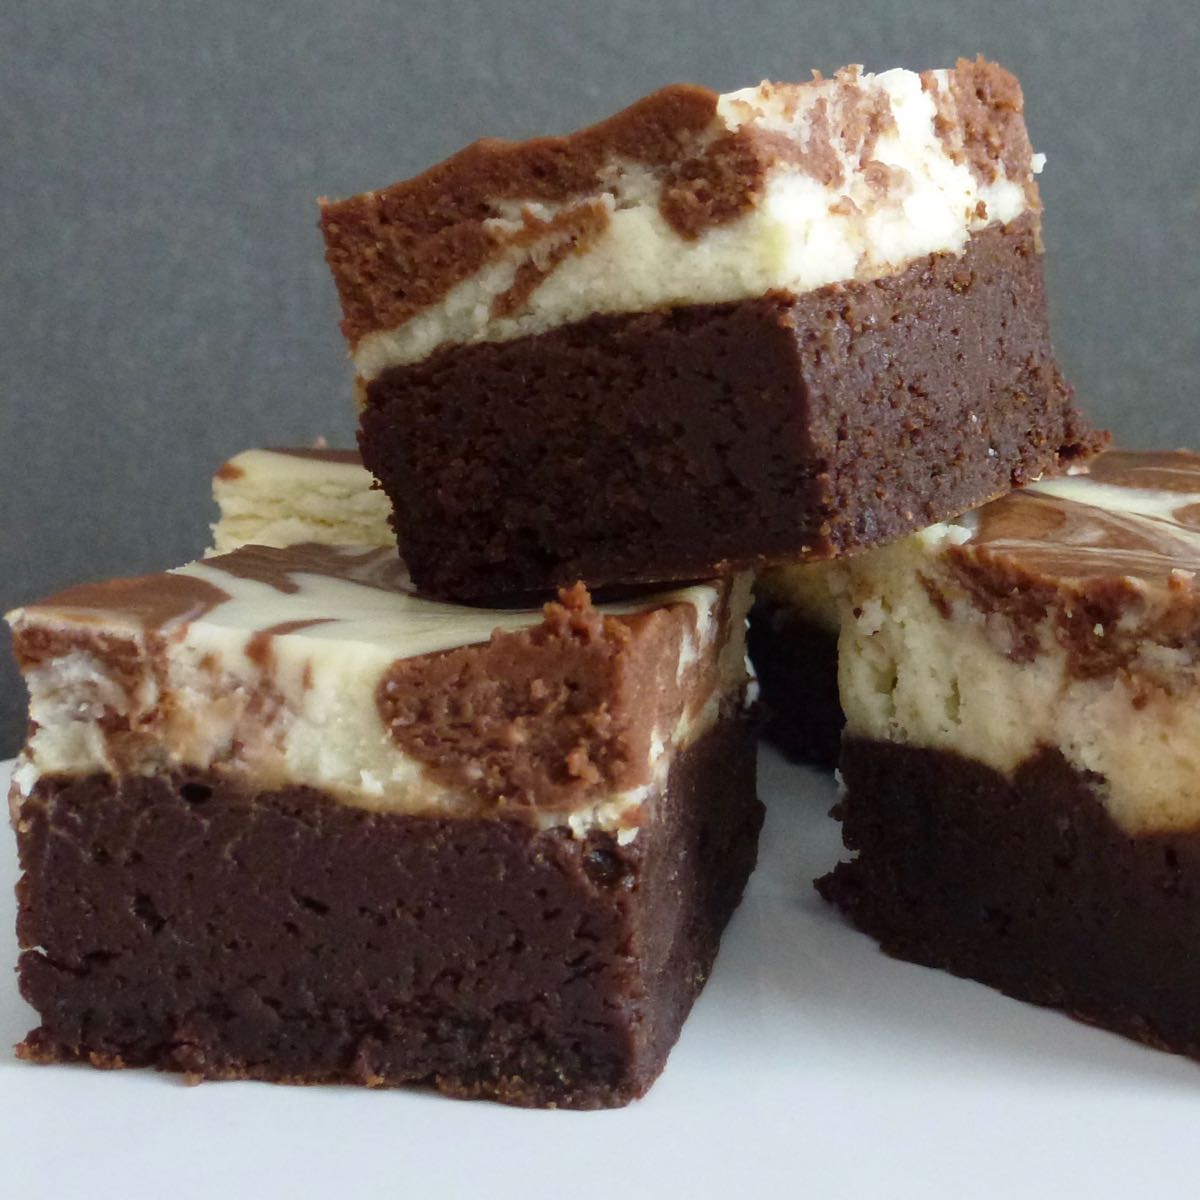
Gluten Free Chocolate Cheesecake Brownies
Ingredients
BROWNIE BASE
- 1½ cups chocolate chips
- ½ cup butter
- ⅓ cup sugar
- 2 eggs
- ½ teaspoon vanilla extract
- ½ cup quinoa flour
CHEESECAKE TOPPING
- ¼ cup chocolate chips
- 250 gram package cream cheese (room temperature)
- ½ teaspoon vanilla extract
- ¼ cup sugar
- 1 egg
- 1 tablespoon milk
- 2 tablespoon quinoa flour
Instructions
- Preheat oven to 325°F. Line an 8-inch square baking pan with parchment or foil, hanging about 2-inches over two sides of the pan to help easily remove the cooked brownie.
BROWNIE BASE
- Put chocolate chips in a small bowl and microwave on high for 1 minute. Stir.
- Add butter to chocolate chips and microwave on high, another 30 seconds, stirring to ensure it doesn't burn. Repeat for another 30 seconds if needed, stirring until smooth. Set aside.
- In a medium bowl whisk sugar, eggs and vanilla. Add melted chocolate and stir to combine.
- Add the flour and mix thoroughly. Pour into prepared pan.
CHEESECAKE TOPPING
- Place chocolate chips in a small bowl and microwave on high for 30 seconds. Stir and microwave for another 30 seconds if needed until chocolate is smooth. Set aside.
- In a medium bowl beat cream cheese, vanilla, sugar and egg. Combine with chocolate mixture.
- Blend in milk and flour.
- Add about ½ cup of cheesecake mixture to small bowl with melted chocolate. Set aside.
- Spread remaining cheesecake mixture onto the brownie base to cover it completely.
- Drop spoonfuls of the chocolate cheesecake mixture all over cheesecake layer in the pan.
- Using a knife or skewer draw circles through the chocolate cheesecake mixture into the white cheesecake topping to create swirl pattern. Be careful not to touch the bottom brownie layer.
- Bake in preheated oven 32-35 minutes, until the middle springs back when gently touched in the center. Cool then chill overnight before cutting.
Notes
Nutrition
__________________________________________________________________________
New here? I've got the help you need to learn to make gluten free food the whole family wants to eat. Subscribe and get your free resource, 29 Tips for GF flour.
🎉 I made it into the Top 100 Gluten Free Blogs for 2025 and the Top 40 Gourmet Food Blogs. Learn all the ways I can help you by visiting this page, Everyday Gluten Free Gourmet.
_________________________________________________________________________







Pawel kuczaj
Really great brownies! The topping was so creamy!
Cinde Little
Thanks Pawel. Yes, it's the perfect brownie for cheesecake lovers!
Steshni Corea
SOO GOOEY SO YUM😍😍😍😍😍
Cinde Little
I agree...amazing! Thanks Steshni.