


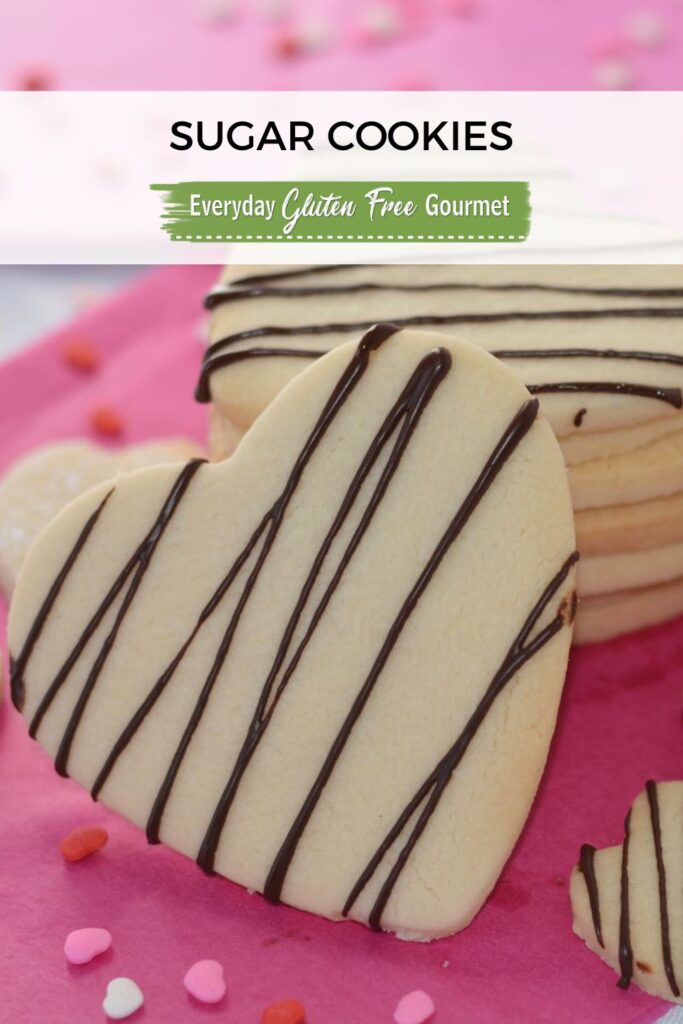
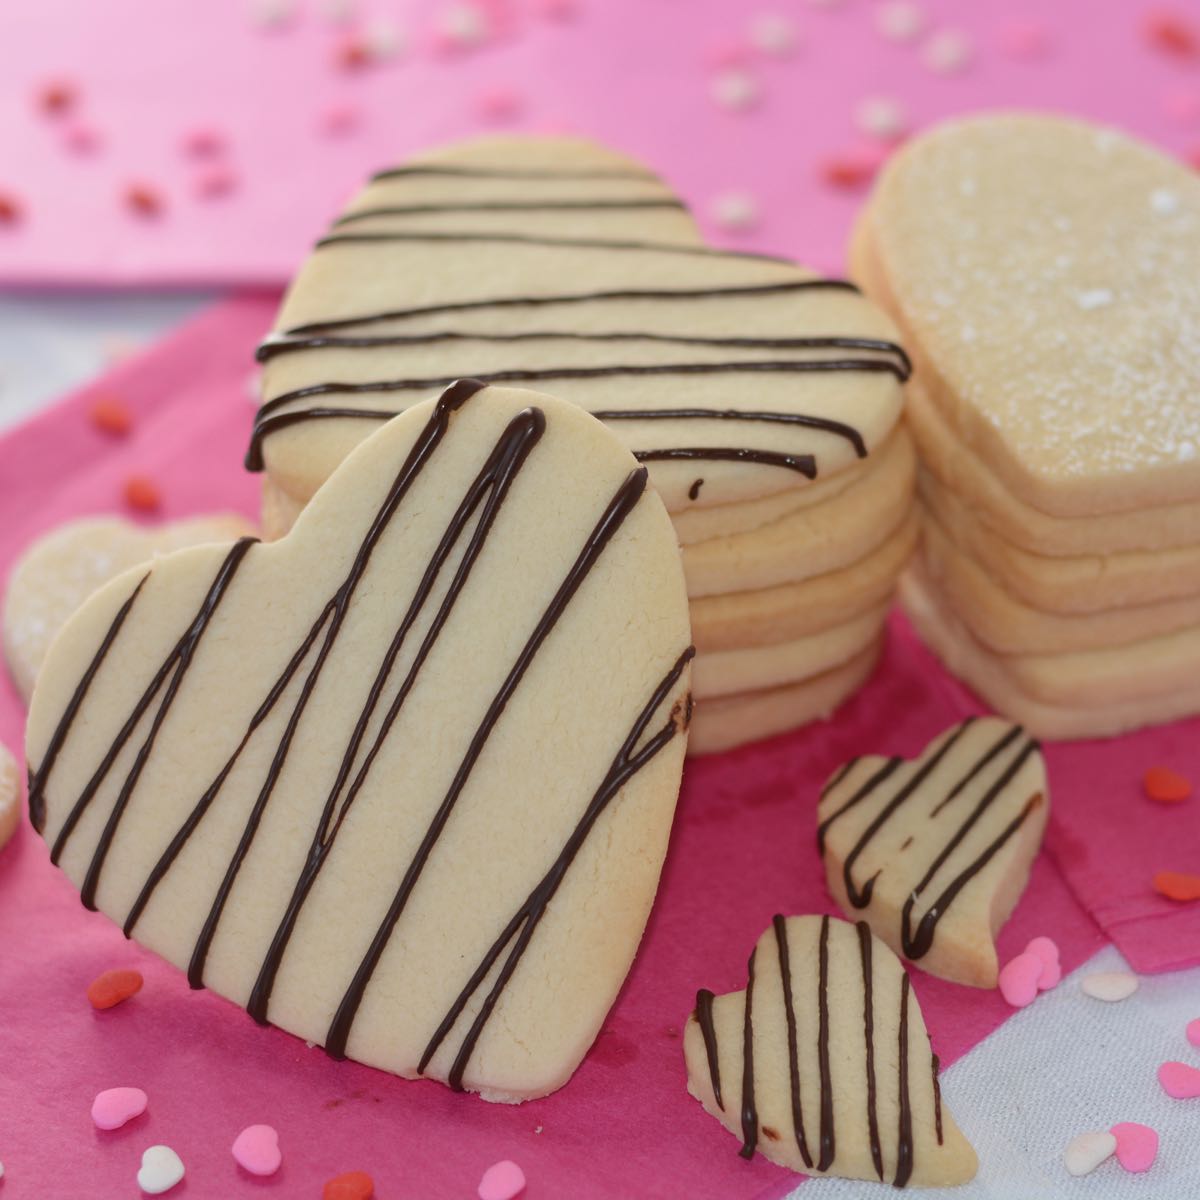
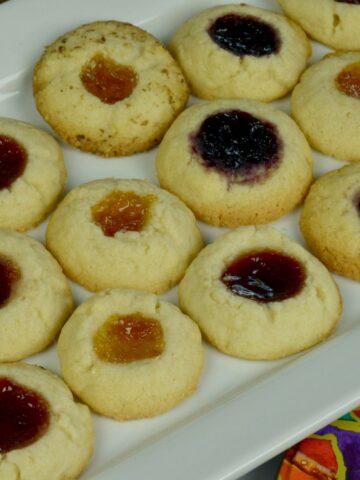
These are melt-in-your-mouth gluten free sugar cookies for any occasion. They're made by weighing individual flours and are so good I'm not looking for another sugar cookie recipe. Get set up to store and measure different flours so you don't have to pass up recipes like this. No one would ever guess these are gluten free.
I love cookies and I've got a roundup of cookie recipes with ones from every step of my gluten free journey. There's lots to learn so don't try and learn it all at once. Work on one recipe at a time and be open to trying new ingredients and methods. Then keep baking and keep learning.
Jump to:
❤️ Ingredients
Using two starches in combination gives better results in many gluten free recipes. If you like to experiment or need to avoid corn or potato, this is a tip for you.
- white rice flour
- tapioca starch
- potato starch
- xanthan gum
- butter
- sugar
- egg
- vanilla
See recipe card for exact amounts.
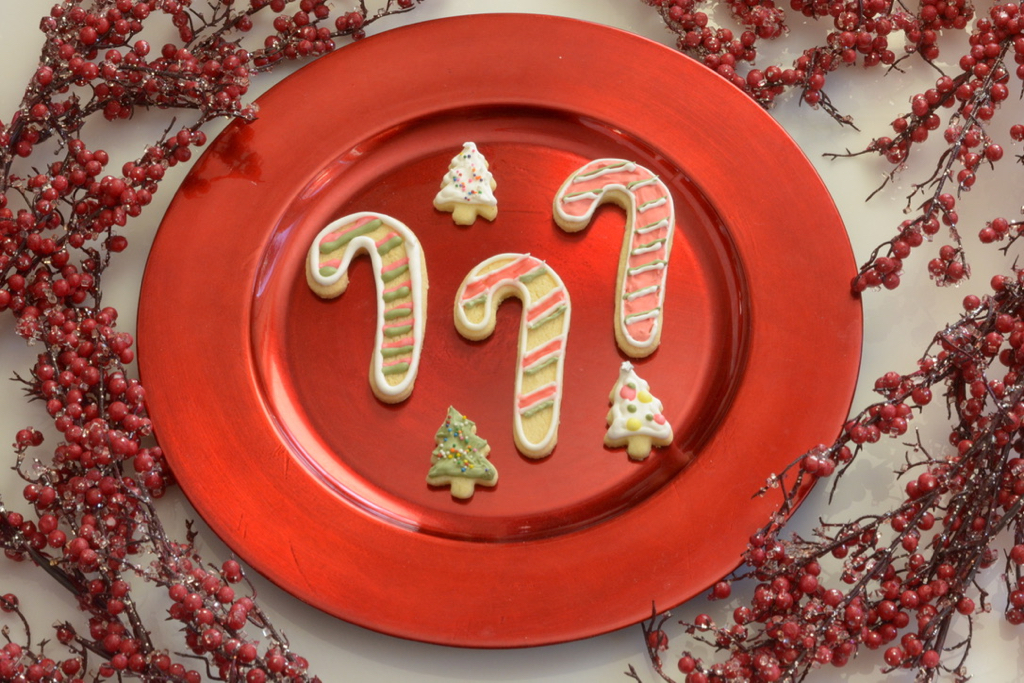
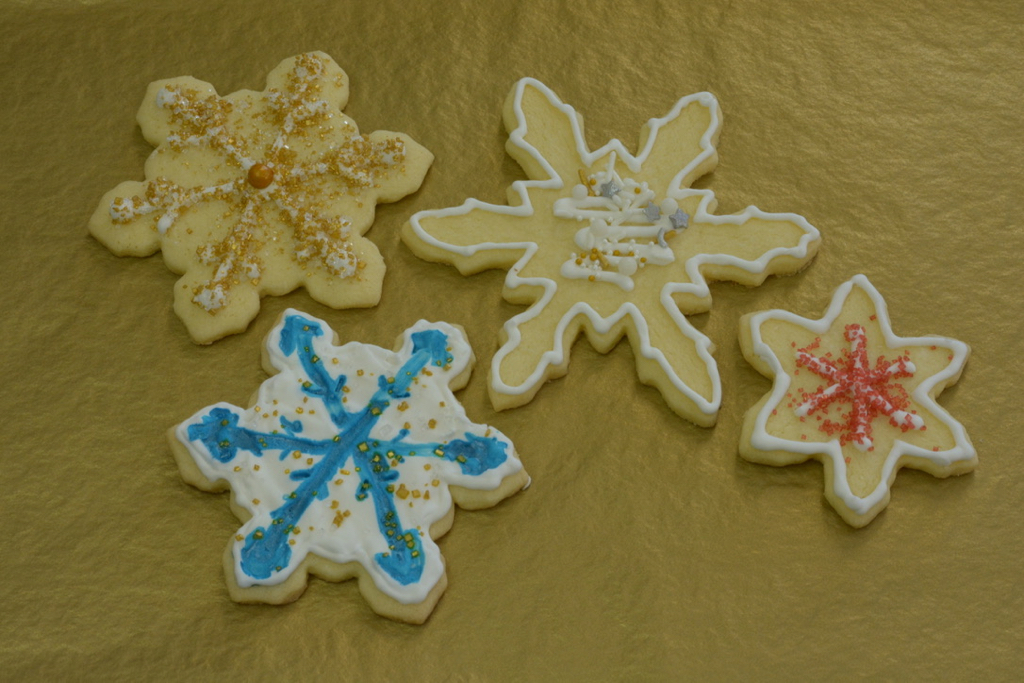
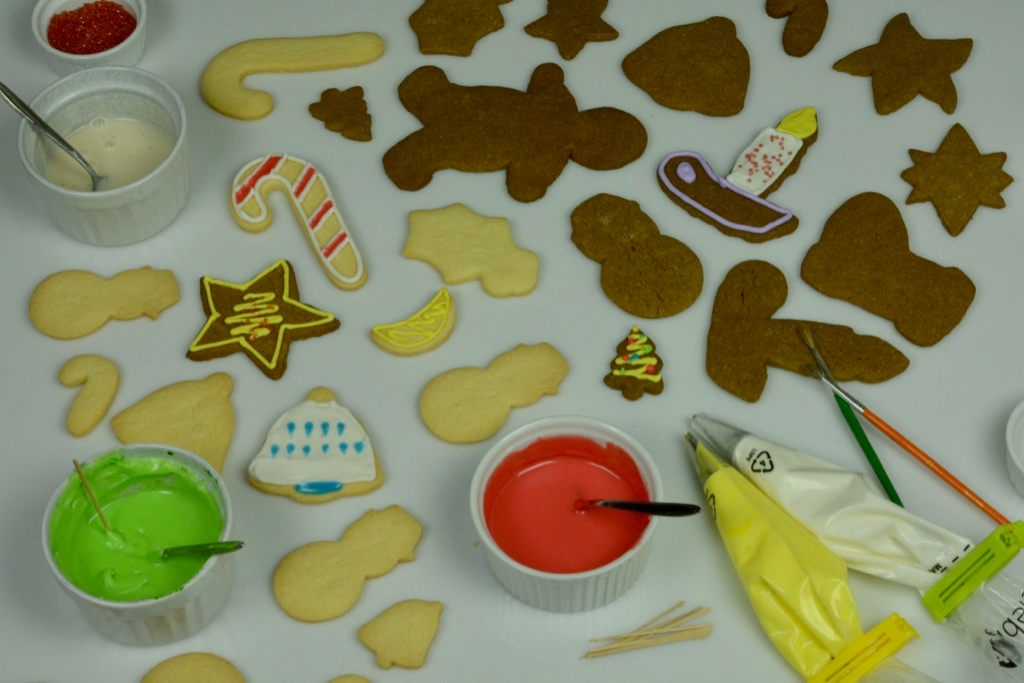
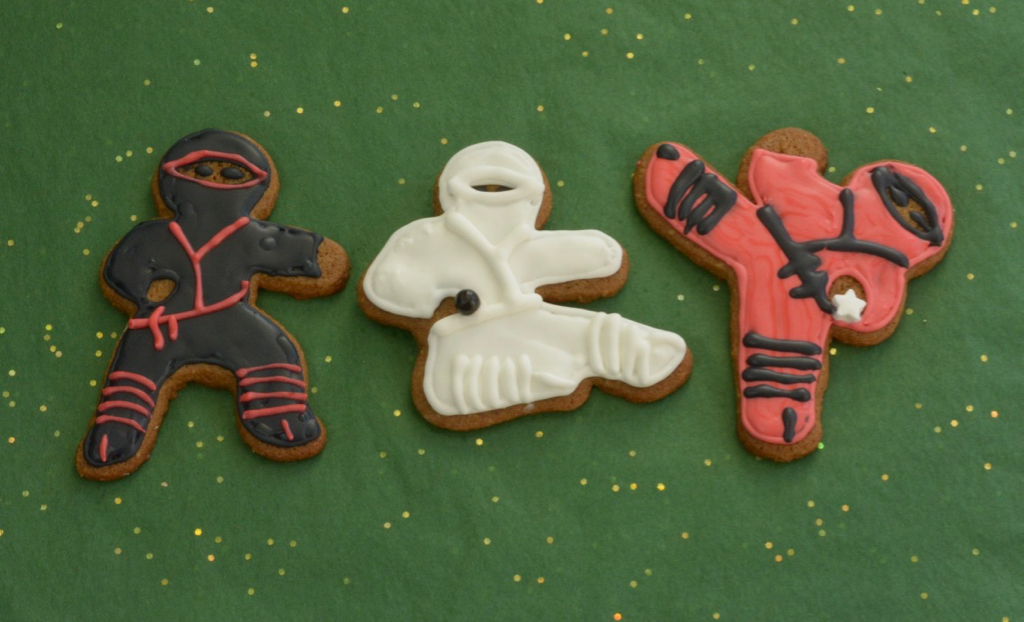
🍫 Ideas for Decorating Cookies
Icing cookies takes planning and a desire to eat iced cookies. I didn't want icing for my Valentine cookies but a simple drizzle of chocolate perked them up for the photo above.
If you've got decorators ready and waiting, then you're committed to icing. Keep a supply of sprinkles with your cookie cutters and use my tips and tools for decorating with royal icing. If you want ideas for the party check out How to Host a cookie decorating party.
🍪 What Makes Good Gluten Free Cookies
All cookies are high in fat and sugar, that's why they're so good! Gluten free flours do not absorb fat or liquid the way wheat flour does so you've got tricks to learn.
In this post, Tips For Making Gluten Free Cookies, you'll find all those tricks. Here I'll share the ones specifically for rolled cookies.
💡 Tips for Gluten Free Rolled Cookies
Rolled cookies are a bit fussy, but not difficult. Here are some tips for gluten free bakers that your grandmother never knew.
- Use only as much flour as is necessary for rolling out the dough. Try wax paper or plastic on both sides of the dough as you roll. You'll still need some flour but much less.
- Use sweet rice flour or tapioca starch for a sprinkling flour. Do not use a flour blend that contains a binder.
- Work with chilled dough. Put it back in the fridge during any step of the rolling and shaping process.
- Using a rolling pin, gently roll toward the edge of the dough being careful not to go right off. This way you maintain the thickness so they bake evenly.
- If your cookies brown on the bottom before they are cooked double up your pan instead of changing the oven temperature.
👩🏻🍳 Get The Tools
Many of my pans are more than ten and twenty years old. It takes time to collect good quality pans but it's worth the effort. Pay attention to the pans and sizes that you like and work well for you.
- two cookie sheets, notice they have no edges
- two jellyroll pans, also known as baking sheets, with ¼-inch sides all around (used more for cooking but helpful for a cookie baking spree when you need more pans)
- metal scoops in various sizes for muffins, cookies, meatballs and more (I have three of them and I love the efficiency when portioning muffins and cookie dough)
✍🏻 Gluten Free Sugar Cookies
Ingredients
DRY INGREDIENTS
- 1 cup white rice flour (120g)
- 1 cup tapioca starch (135g)
- ½ cup potato starch (80g)
- 2 teaspoon xanthan gum
- ⅛ teaspoon salt
WET INGREDIENTS
- 1 cup butter , room temperature
- ⅔ cup sugar
- 1 egg yolk
- 1 teaspoon vanilla
ROLLING
- sweet rice flour or tapioca starch
DECORATIONS
- icing sugar, melted chocolate or candy sprinkles
Instructions
- In a large bowl whisk together dry ingredients.
- In an electric mixer beat the butter and sugar until light and fluffy, 2-3 minutes.
- Add egg yolk and vanilla, mix until combined.
- On low speed gradually add the dry mixture just until combined. Transfer the dough to a lightly floured surface and shape into a ball. Divide the dough in half onto 2 pieces of wax paper/parchment. Flatten each one into a disk. Cover with the waxed paper and refrigerate for 30 minutes or overnight.
- Preheat oven to 350°F and prepare baking sheets.
- Gently roll out dough to ¼-inch thickness, sprinkling with flour only when needed.*
- Cut shapes and transfer cookies to baking sheets. Refrigerate 10-15 minutes before baking.
- Gather remaining pieces of dough from cut cookies, gather into dough ball and repeat as before. Refrigerate dough 10-15 minutes before rolling out again.
- Bake cookies in preheated oven for 12-14 minutes or until just turning golden on the edges.
- Allow to cool on the baking sheet for 2-5 minutes before transferring to wire racks to cool completely.
- Decorate as desired. Store cookies in an airtight container.
Notes
- Chill the dough anytime it is too soft to work with.
- Minimize the need for extra sprinkling flour by using plastic wrap or wax paper on both sides of the dough. Gently peel back the paper and sprinkle with a small amount of flour as needed. You need to peel off the paper without it sticking and then transfer the cut shapes to the baking sheet. If the dough is sticking chill it again.
Nutrition
__________________________________________________________________________
New here? Overwhelmed or frustrated with gluten free? Learn a little bit about gluten free flour with this guide and start cooking GF food everyone wants to eat.
🎉 Exciting news! Adventures in a Gluten Free Kitchen, is a low cost way to learn to cook with help and encouragement from everyday cooks who get it.
_________________________________________________________________________
More Gluten Free Cookies
Make cookies every week, every month or every season. It can be a whole afternoon of fun, or a quick night time treat. Find a few favourites and repeat.


Leave a Reply