

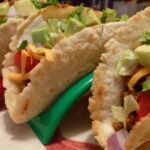
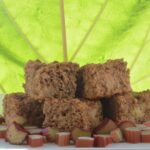


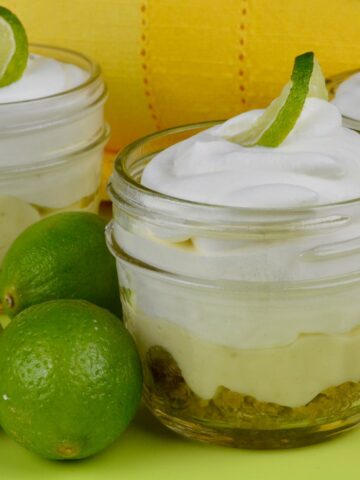
Gluten Free Nanaimo Ice Cream Bars are the perfect version of Nanaimo Bars for summer. They're sure to be a hit at any gathering. If you’ve got kids be sure to get them in the kitchen making the homemade ice cream first and then the bars. This is the kind of summer project that could result in a new family tradition.
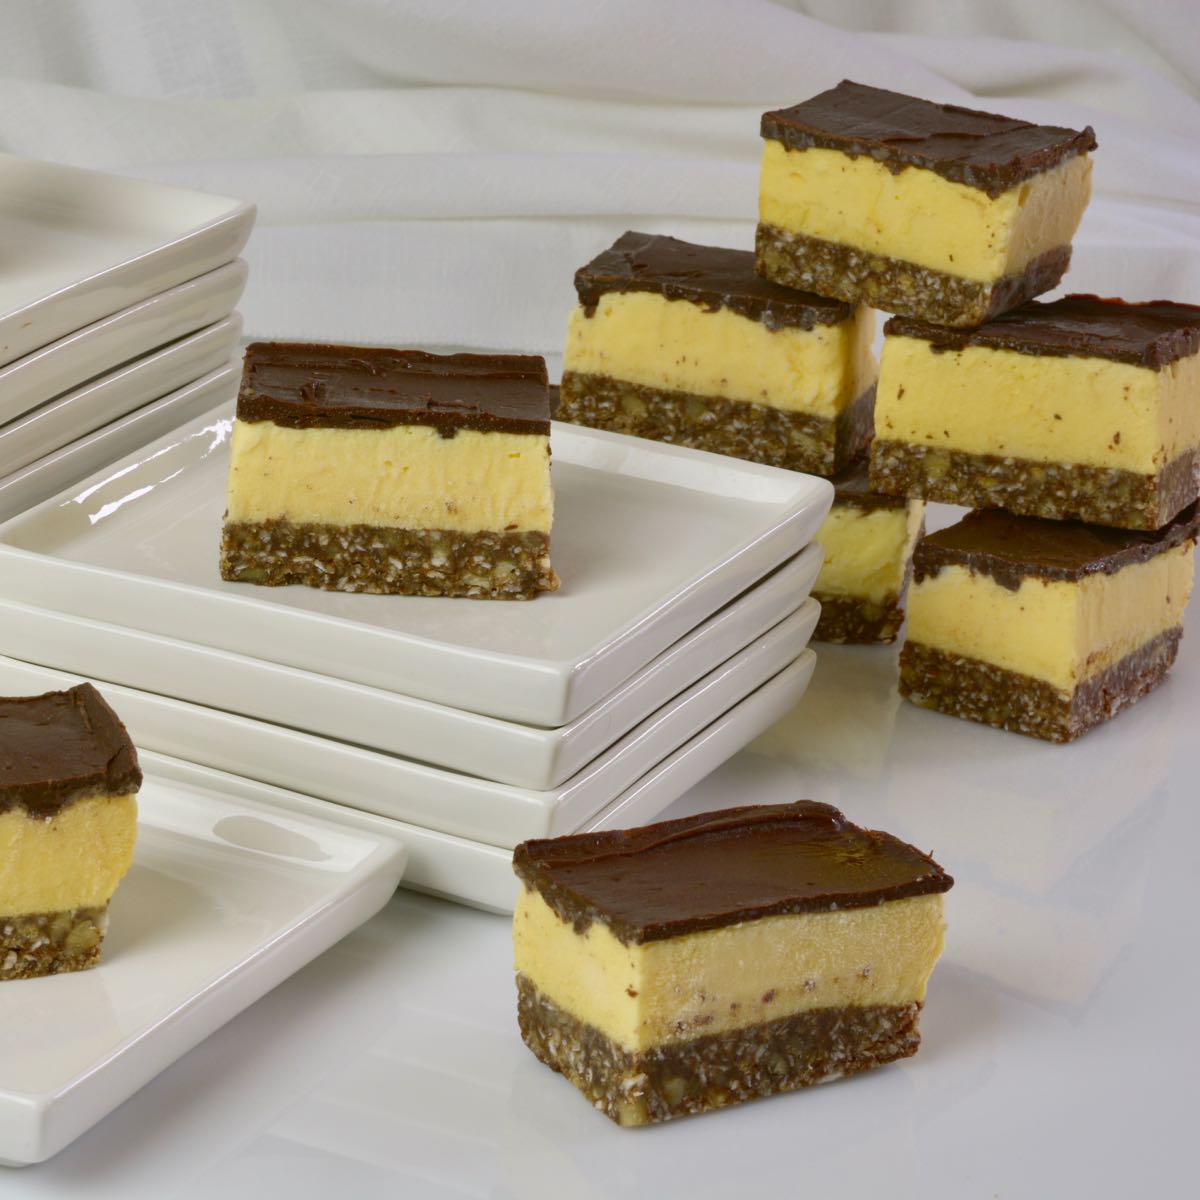
Nanaimo Bars are a dessert with a history. Apparently this layered dessert was invented in the 1950’s in Nanaimo, British Columbia and I certainly enjoyed them when I was young. Traditionally Nanaimo bars are made with Bird’s custard powder and some would say this ingredient is essential for the most authentic Nanaimo Bar experience.
Jump to:
Instructions for Cutting Ice Cream Bars
To make perfect edges on ice cream desserts, brownies and cheesecake the trick is to use a warm knife. I use a small paring knife and a ruler to make marks where I will cut. Then I use my 10-inch long chef’s knife for the actual cutting. Dip the knife in a tall glass or a sink filled with hot water, wipe dry and gently move the knife back and forth as the heat works its’ way through the chocolate. Don't force it or the chocolate will crack.
This process is a bit tedious but I like the nicely cut pieces. You can definitely eye ball the lines but the warm knife is the trick that will give you those clean edges.
Bird’s Custard vs Vanilla Pudding Mix
Birds Custard Powder was invented more than 100 years ago. It's a packaged food but it is an egg free substitute for custard and it's gluten free.
Modern recipes substitute packaged vanilla pudding mix for custard powder. This is also gluten free and was easier to find when I went shopping. Another bonus for the pudding mix is that you will use it all up in one recipe. Of course there is a difference in the taste so you decide what works for you. I'm confident no one, and I mean no one, will complain if you give them a Nanaimo Ice Cream Bar made with vanilla pudding.
If you are a connoisseur of gluten free Nanaimo Bars, or want to become one, try both versions and have a taste test. That’s what I did and this is the recipe I used.
Vanilla Pudding Ice Cream
|
I shared both versions of these Nanaimo Ice Cream Bars with many people. The custard ice cream filling was the winner but a few people chose the bars made with vanilla pudding. I think there is a difference depending how long the ice cream bars are left to soften so keep trying and tasting. All your friends will be happy for your effort.
Equipment
Homemade ice cream is fun and easy to make. I have a hand crank Donvier ice cream maker that is more than twenty years old. It has no moving parts since turning it is what you do. The freezer insert lives in my freezer, wrapped in a clear plastic bag ready to use when I want it. The outer part is in the original box at the back of a cupboard. I can assemble those two parts in two minutes.
Sharing Recipes
Thanks to Julie van Rosendal for sharing her idea on the radio. Julie is an adventurous cook, cookbook author and writer, food columnist for CBC radio and contributing editor for the Globe & Mail. She's a local personality and an inspiration to all to get in the kitchen and cook. Using her idea I adapted my gluten free Nanaimo bar recipe (posted as Nanaimo Balls) into this recipe for Nanaimo Ice Cream Bars. You can read more about Julie and find her recipes over at Dinner With Julie.
Gluten Free Nanaimo Ice Cream Bars
Ingredients
CRUMB BASE
- ½ cup butter
- ¼ cup sugar
- 2 tablespoon cocoa powder
- 1 egg
- 1 teaspoon vanilla
- 1 cup gluten free Graham style crumbs
- 1 cup shredded coconut
- ½ cup chopped walnuts
*EASY CUSTARD ICE CREAM LAYER (See notes for an alternative ice cream made with traditional Bird's custard powder)
- 2 - 102 gram boxes instant vanilla pudding
- ½ cup icing sugar
- 2 cups milk (2% or whole milk)
- 1½ cups whipping cream
CHOCOLATE LAYER
- 5 oz semi-sweet chocolate (or ¾ cup chocolate chips)
- 2 tablespoon butter
Instructions
CRUMB BASE
- Line an 8-inch square baking pan** with parchment large enough to hang over on 2 sides of the pan.
- In a medium saucepan combine butter, sugar, cocoa powder, egg and vanilla. Stir to mix evenly and cook over low heat until slightly thickened, about 5 minutes.
- Add the Graham style crumbs, coconut and walnuts. Stir to combine.
- Press mixture into prepared pan. Freeze until ready to assemble.
EASY CUSTARD ICE CREAM LAYER
- In a large bowl whisk vanilla pudding mix, icing sugar and milk until it starts to thicken.
- Add whipping cream and stir until the mixture is evenly combined. Freeze in an ice cream maker according to manufacturers’ directions.
- Spread ice cream evenly over crumb base. Return to freezer while preparing chocolate layer.
CHOCOLATE LAYER
- Melt chocolate and butter in small saucepan over low heat.
- Working quickly, pour mixture over ice cream layer and spread to cover completely.
- Freeze at least 2 hours or preferably overnight.
- Use the overhanging parchment to lift out of the pan. Remove parchment and use a warm knife to cut into bars. Wipe knife clean between each cut for that perfect look.
- Put bars into airtight container and freeze until ready to serve.
Notes
- 3 cups half-and-half (also called coffee cream or 10%)
- ⅓ cup sugar
- ¼ cup Bird's custard powder
Nutrition
__________________________________________________________________________
New here? Overwhelmed or frustrated with gluten free? Learn a little bit about gluten free flour with this guide and start cooking GF food everyone wants to eat.
🎉 Exciting news! Adventures in a Gluten Free Kitchen, is a low cost way to learn to cook with help and encouragement from everyday cooks who get it.
_________________________________________________________________________
Steshni Corea
delicious Canadian treat
Julie Clarry
Cinde, if I don't have an ice cream maker is there another method to freeze the custard mixture?
Cinde Little
Hi Julie! Yes you can make ice cream without an ice cream maker and you should! I think Mary from Barefeet in the Kitchen does a great job of explaining how to make it in a metal pan in your freezer. You can see her tutorial here: https://barefeetinthekitchen.com/ice-cream-without-a-machine/
Good luck, I'm sure it will be delicious.