


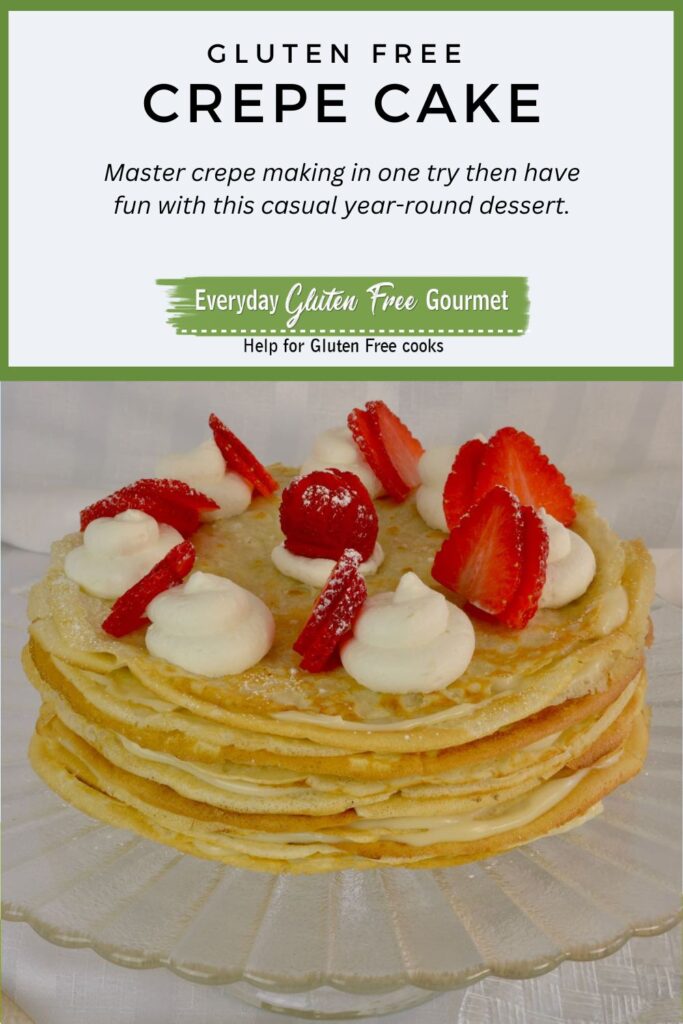

Some occasions just call for cake and a gluten free Crepe Cake is fun to make. If you can make pancakes, you can make crepes! In just one session you can easily learn to flip crepes, without breaking them, and now you've got loads of possibilities.
Smart cooks love recipes with many variations make cooking a whole lot easier. Crepes can be made sweet or savoury and served for breakfast, lunch or dessert. Like many gluten free recipes, once you understand some properties of gluten free flours you can make food everyone wants to eat.
Jump to:
Ingredients for Crepe Cake
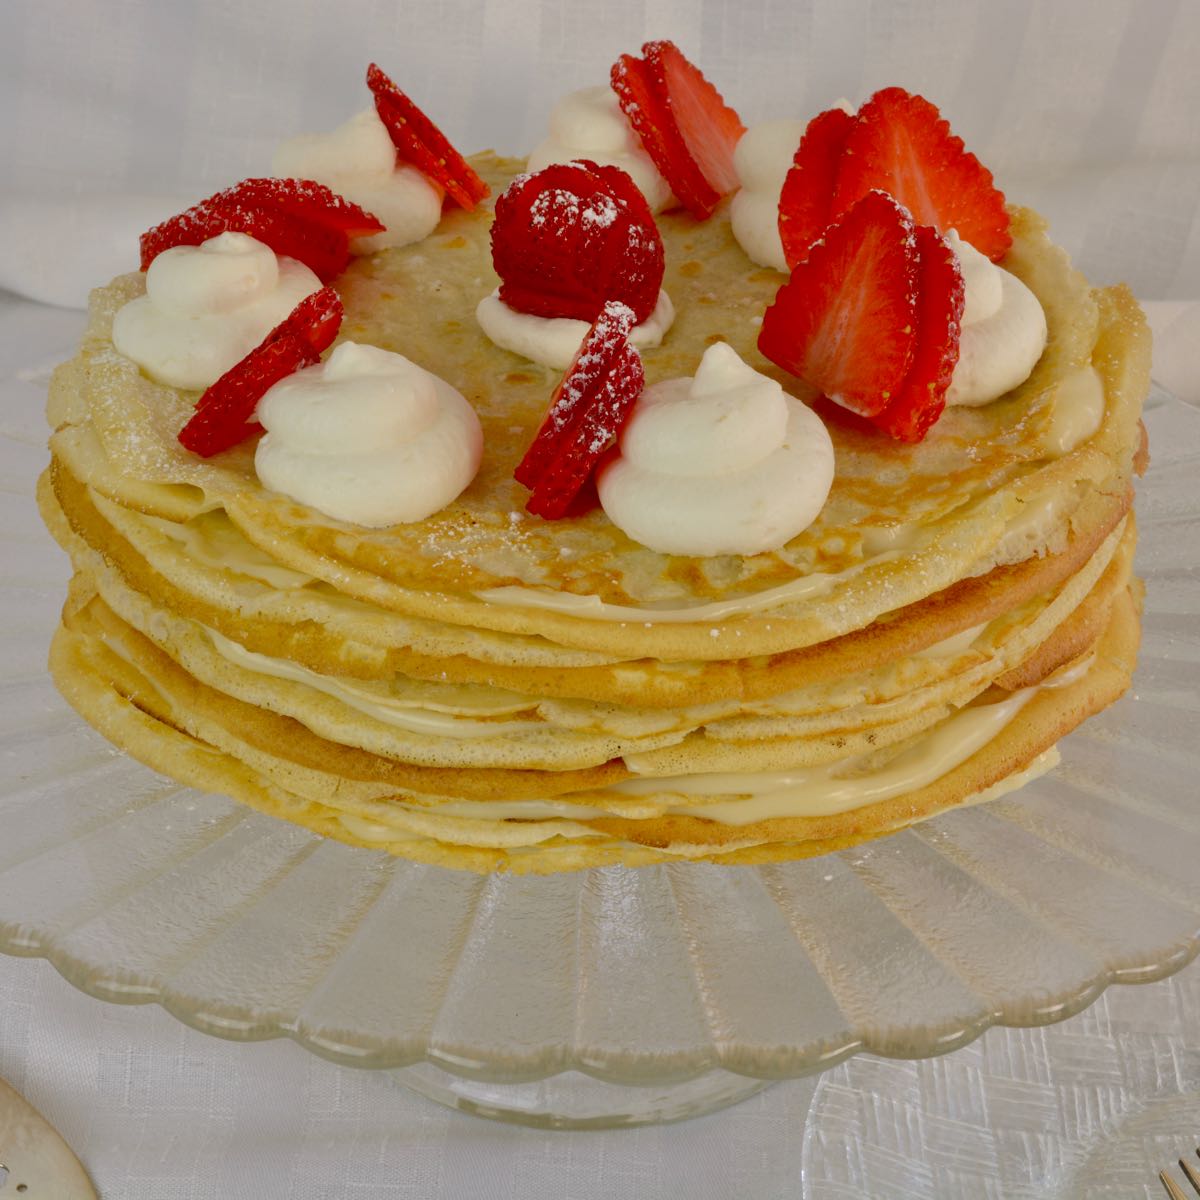
Unlike fussy layer cakes, Crepe Cakes have a whimsical feel with some of the filling dripping down the sides.
Crepes
- milk (2% or whole milk)
- eggs
- butter
- EGFG gluten free flour blend (sweet rice flour, potato starch, sorghum flour, millet flour)
- oil for cooking
Vanilla Pastry Cream
- whole milk
- sugar
- egg yolks
- cornstarch
- vanilla
- GARNISH: strawberries or fresh fruit of your choice
- OPTIONAL: whipping cream and gelatin
See recipe card for exact amounts.
Instructions for Making Crepes
I think of a crepe cake as just two steps; making all the crepes and then assembling the cake.
I made two batches of crepes, cooking with two pans going at once. This made it easy to master the technique of crepe making and these are my tips for you.
- The pan needs to be quite hot.
- Use a tiny amount of oil and wipe the pan with a paper towel before each crepe to pick up any flecks of batter from the last crepe.
- Use a measuring cup to pour the same amount of batter in the pan to make all crepes the same thickness.
- Whisking the batter after every few crepes keeps it from separating.
- ¼ cup of batter makes thin crepes but a slightly thicker crepe is needed to hold the weight of a Crepe Cake. Use ⅓ cup per crepe.
- a very thin flipper is ideal and wiping the flipper with the oiled paper towel helped prevent the crepes from sticking
- if a crepe tears you can still use it if the tear is small, otherwise discard it (eat it).
Substitutions
Gluten free flour - Whenever you substitute a different gluten free flour blend the results will be different. Your job is to pay attention to the blends you're using; the taste and mouthfeel. When it doesn't taste gluten free you're there! Then everyone will want to eat what you make.
For more on gluten free flour subscribe to my list and get my best resources sent right to your inbox.
Variations
I used pastry cream for this cake but there are endless possibilities for the filling.
Small Crepe Cake - Two days after I mentioned crepes during a virtual cooking class I got an email from Gail saying they made a small Nutella Crepe Cake for their breakfast charcuterie board. Now that's thinking! A 6-inch pan would made a nice size cake.
Vanilla Cream Filling - My recipe for Vanilla Cream is eggless yet quite similar to pastry cream. I like that recipe because I can start it with what's in my fridge, but then I do need a trip to the store for whipping cream to finish off the recipe.
Lemon Filling - Luscious homemade Lemon Curd can't be beat!
Nutella - You already know if that's happening in your house.
Tools to Make Crepes
A crepe pan isn’t necessary but they do have some features you might like. For serious crepe makers who are already planning future Crepe Cakes, here are some tools to consider. These are also the kind of gifts gluten free cooks can get excited about.
- Cuisinart’s Classic non-stick 10-inch crepe pan.
- This high-end 10-inch Ceramic Nonstick Crepe Pan with a larger edge on one end.
- An electric crepe maker with batter spreader and wooden spatula.
- Le Creuset Enameled Cast-Iron Crepe Pan.
- Regular non-stick pans are just fine, I make crepes with two going at the same time to work efficiently.
- A spatula is arguably my favourite kitchen utensil and I have every shape and size you can imagine. For assembling a Crepe Cake you could use a regular silicone spatula or an offset spatula typically used for decorating cakes.
- Disposable or reusable icing bags, with our without a tip, are ideal for piping whipped cream on top of anything. A freezer quality zip bag will work too.
Storage
Crepes can be made a day in advance. Once the Crepe Cake is assembled it can be refrigerated up to 6 hours before serving. If there's any leftover you'll get to find out how good it is the next day.
Top Tip
For desserts with that store-bought look, stabilize the whipped cream by using dissolved gelatine (see recipe card for instructions). The whipped cream will hold its shape for hours in the fridge and that's one more job that can be done in advance!
Gluten Free Crepe Cake with Pastry Cream
Ingredients
PASTRY CREAM Step 1
- ½ cup whole milk
- ⅓ cup sugar
- 6 egg yolks
- ⅓ cup cornstarch
PASTRY CREAM Step 2
- 1¾ cups whole milk
- ⅓ cup sugar
- 1 tablespoon vanilla
CREPES (a double recipe**)
- 3 cups milk (whole milk preferred)
- 4 eggs
- ¼ cup melted butter
- 2½ cups EGFG gluten free flour blend*
- ¼ cup sugar
- ½ teaspoon salt
- oil for cooking
Stabilized Whipped Cream
- 1 cup whipped cream
- 1 teaspoon gelatin
- 1 tablespoon cold water
FINISHING
- 6 strawberries
Instructions
PASTRY CREAM
- In medium bowl, whisk first amount of milk and sugar with egg yolks and cornstarch.
- Combine second amount of milk and sugar in medium saucepan, add vanilla. Set over medium heat and bring to simmer without stirring.
- When hot, remove from heat and gradually whisk into egg yolk mixture.
- Return to saucepan over medium heat and cook, whisking constantly, until cream simmers and thickens, 1-2 minutes.
- Remove from heat, whisk until smooth.
- Transfer to bowl and press plastic wrap or wax paper directly on the surface to prevent a film from forming. Refrigerate until cold, 3-4 hours or overnight.
MAKING CREPES
- In a medium bowl whisk milk and eggs. Add melted butter, stir and set aside.
- In a large bowl combine flour, sugar and salt. Add egg mixture and whisk until evenly combined.
- Heat 10-inch non-stick pan(s) over medium-high heat. When hot add 1 teaspoon of oil, swirl in bottom of pan and wipe away excess with paper towel.
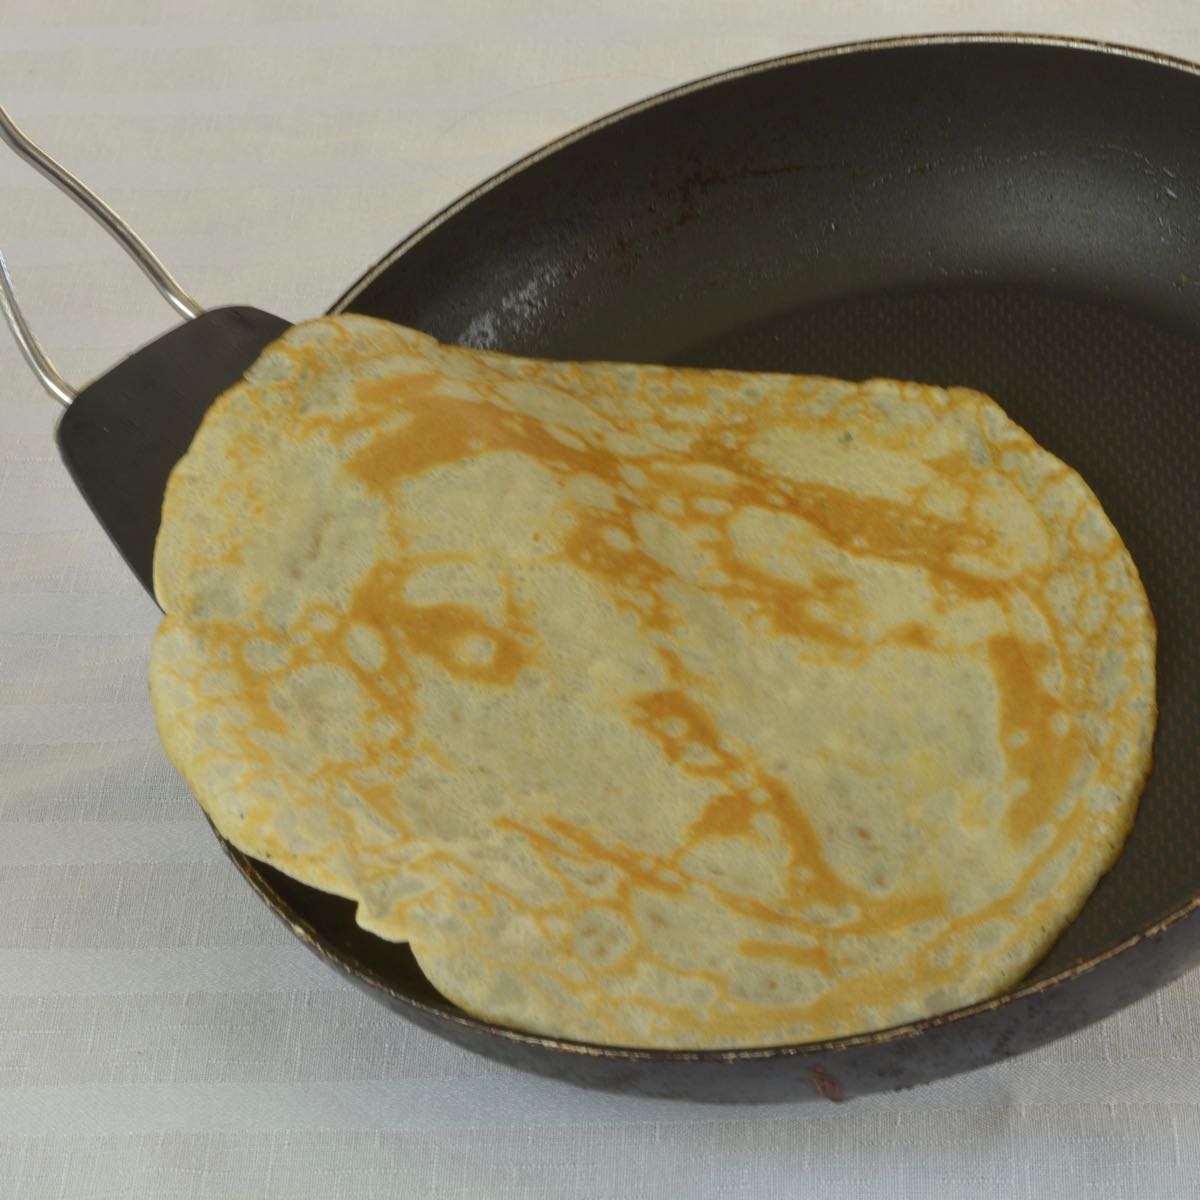
- Pour ⅓ cup batter into the hot pan. Immediately tilt and swirl the pan so the batter coats the entire surface as quickly as possible. Cook until lightly browned, about 1 minute.
- Flip crepe, cook for another 1½-2 minutes. Transfer to a plate.
- Return pan to heat, add more oil if needed. Using paper towel continue wiping away any excess oil and flecks of cooked crepe batter.
- Repeat until all batter is used stacking crepes on top of each other as you go. Cool completely before assembling Crepe Cake.
ASSEMBLING CREPE CAKE
- Place one crepe in center of serving platter.
- Spread filling over crepe being careful to keep it thin in the center but go right to the edges of every crepe. The goal is a flat cake, not high in the center and drooping around the edges.
- Add each crepe and repeat until you have used up the filling. 24 crepes makes a nice high cake.
- Cover and refrigerate at least 2 hours before serving.
Stabilized Whipped Cream
- Sprinkle gelatin over cold water. Let sit for 5 minutes until a thick semi-solid.
- Microwave 5-10 seconds until just melted. Whisk until smooth and add to whipping cream as it whips. Continue beating to soft or stiff peaks. Decorate as desired.
- Garnish with fresh strawberries.
Notes
Nutrition
Recipe FAQs
Very carefully! The trick is to keep the filling thin in the center yet spread it right to the edges of every crepe. Take your time and enjoy the process.
__________________________________________________________________________
New here? Overwhelmed or frustrated with gluten free? Learn a little bit about gluten free flour with this guide and start cooking GF food everyone wants to eat.
🎉 Exciting news! Adventures in a Gluten Free Kitchen, is a low cost way to learn to cook with help and encouragement from everyday cooks who get it.
_________________________________________________________________________


Steshni Corea
😍