


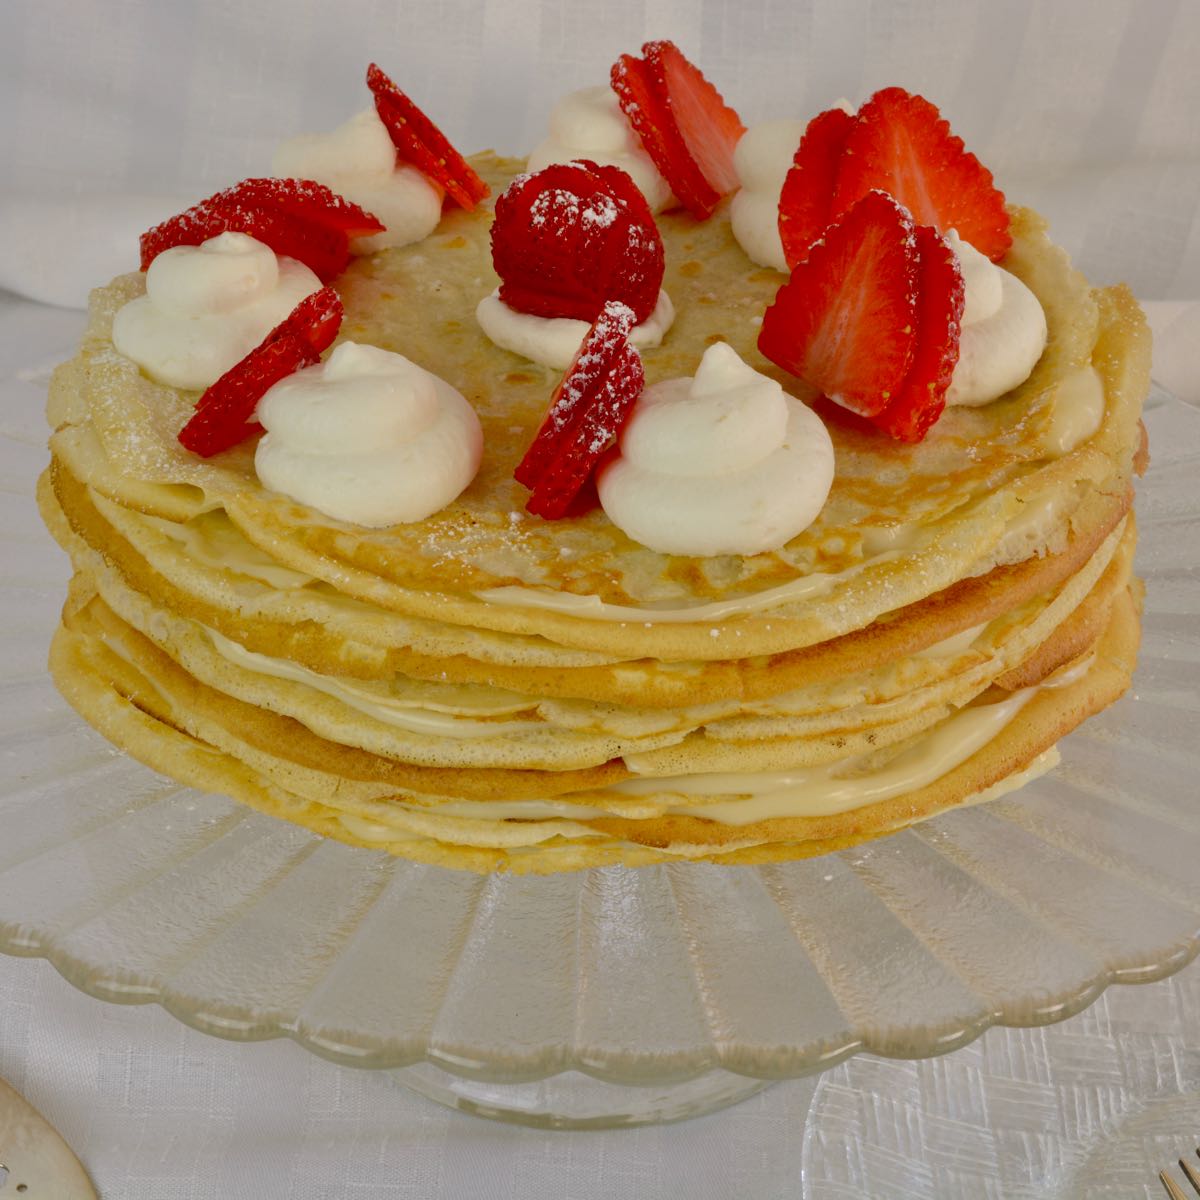
Some occasions just call for cake and this gluten free Crepe Cake is a fun dessert you can make with an impressive presentation. If you can make pancakes, you can make crepes but there is a technique to master. You can easily learn to flip crepes, without breaking them, the first time you make them.
This is the same crepe you could make for breakfast or dessert, turning it into a cake is just a fancy way to present it. Smart cooks know that having recipes that can be varied in different ways makes cooking a whole lot easier.
Jump to:
Ingredients
Unlike fussy layer cakes, Crepe Cakes have a sort of whimsical look and it's okay if some of the filling is falling out the sides. I used pastry cream for this cake but there are endless possibilities for the filling.
Crepes
- milk (2% or whole milk)
- eggs
- butter
- EGFG gluten free flour blend (sweet rice flour, potato starch, sorghum flour, millet flour)
- oil for cooking
Vanilla Pastry Cream
- whole milk
- sugar
- egg yolks
- cornstarch
- vanilla
- GARNISH: strawberries or fresh fruit of your choice
- OPTIONAL: whipping cream and gelatin
See recipe card for exact amounts.
Instructions to Assemble a Crepe Cake
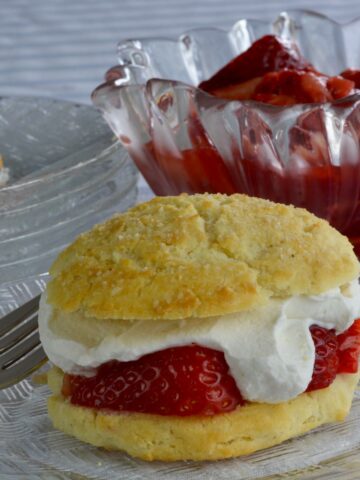
This classic French vanilla pastry cream is decadent with fresh strawberries and whipped cream to finish off the presentation.
This pastry cream is luscious from the six egg yolks and can likely be made with ingredients already in your kitchen. I make an eggless version of this called Vanilla Cream. I like that recipe because I can start it with what's in my fridge, but then I do need a trip to the store for whipping cream to finish off the recipe. So use which ever filling you want with this tip on making sauces with cornstarch.
The filling for a Crepe Cake needs to be thick. Over whisking any sauce made with cornstarch can result in a watery mess, so just don’t over whisk allowing the heat to thicken the sauce.
The fun part about making this recipe together was that we learned from each other. It is pretty easy to assume that everyone knows what you know but of course that isn’t true. This is what we learned.
To stabilize whipped cream I add dissolved gelatine into it. This helps hold its shape for hours in the fridge, perfect for serving your Crepe Cake later in the day.
| Sprinkle 1 teaspoon of gelatin over 1 tablespoon cold water. Let sit for 5 minutes until a thick semi-solid. Microwave 5-10 seconds until just melted. Whisk until smooth and add to whipping cream as it whips. Continue beating to soft or stiff peaks and use as usual. |
Tips for Making Crepes
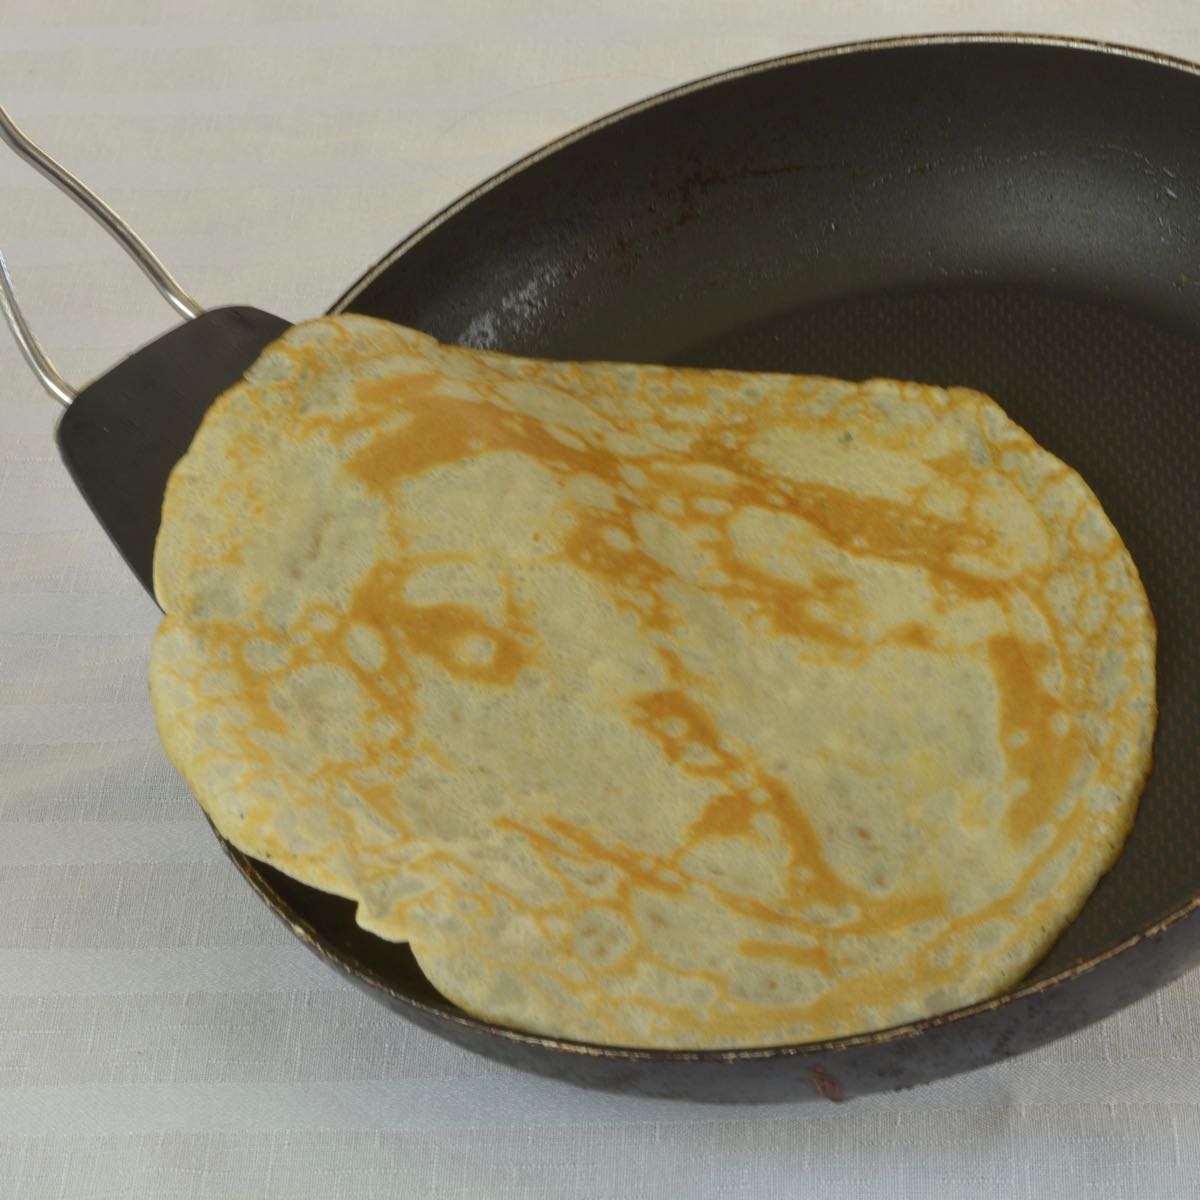
It took me two batches of crepes, with two pans going at once, to master the technique of crepe making. This is what we thought were the important points to share.
- the pan needs to be quite hot
- use a tiny amount of oil and wipe the pan with a paper towel before each crepe to evenly re-grease the pan plus pick up any flecks of batter from the last crepe
- I preferred a measuring cup to pour the same amount of batter in the pan each time
- Amanda poured with one hand then quickly swirled the pan with her other to cover the entire bottom as quickly as possible
- whisking the batter as you cook keeps it from settling to the bottom
- ¼ cup batter makes thin crepes but a slightly thicker crepe is needed to hold the weight of a Crepe Cake
- a very thin flipper is ideal and wiping the flipper with the oiled paper towel helped prevent the crepes from sticking
- if a crepe tears you can still use it if the tear is small, otherwise discard it (eat it).
Get The Tools
A crepe pan isn’t necessary but they do have some features you might like. For serious crepe makers who can imagine a few Crepe Cakes in their future you might consider some of these tools.
- Cuisinart’s Classic non-stick 10-inch crepe pan
- This high-end 10-inch Ceramic Nonstick Crepe Pan with a larger edge on one end
- An electric crepe maker with batter spreader and wooden spatula
- Le Creuset Enameled Cast-Iron Crepe Pan
- We simply used two regular non-stick pans on the stove at the same time to work efficiently
- A spatula is arguably my favourite kitchen utensil and I have every shape and size you can imagine. For a Crepe Cake you could use a regular silicone spatula, an offset spatula like you would use to decorate a cake or just a kitchen knife.
- To pipe stabilized whipped cream on top of the Crepe Cake disposable or reusable icing bags, with our without a tip, are ideal. Of course a freezer quality zip bag will work too.
Top Tip
Beat the chilled and set custard to a velvety smooth texture before spreading it onto the crepes.
Gluten Free Crepe Cake with Pastry Cream
Ingredients
PASTRY CREAM Step 1
- ½ cup whole milk
- ⅓ cup sugar
- 6 egg yolks
- ⅓ cup cornstarch
PASTRY CREAM Step 2
- 1¾ cups whole milk
- ⅓ cup sugar
- 1 tablespoon vanilla
CREPES
- 1½ cups milk (whole milk preferred)
- 2 eggs
- 2 tablespoon melted butter
- 1¼ cups EGFG gluten free flour blend*
- 2 tablespoon sugar
- ¼ teaspoon salt
- vegetable oil for cooking
FINISHING
- strawberries and whipped cream
Instructions
PASTRY CREAM
- In medium bowl, whisk first amount of milk and sugar with egg yolks and cornstarch.
- Combine second amount of milk and sugar in medium saucepan, add vanilla. Set over medium heat and bring to simmer without stirring.
- When hot, remove from heat and gradually whisk into egg yolk mixture.
- Return to saucepan over medium heat and cook, whisking constantly, until cream simmers and thickens, 1-2 minutes.
- Remove from heat, whisk until smooth.
- Transfer to bowl and press plastic wrap or wax paper directly on the surface to prevent a film from forming. Refrigerate until cold, 3-4 hours or overnight.
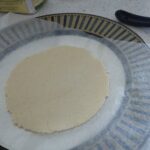
MAKING CREPES
- In a medium bowl whisk milk and eggs. Add melted butter, stir and set aside.
- In a large bowl combine flour, sugar and salt. Add egg mixture and whisk until evenly combined.
- Heat 10-inch non-stick pan(s) over medium-high heat. When hot add 1 teaspoon of oil, swirl in bottom of pan and wipe away excess with paper towel.
- Pour ¼-⅓ cup batter into the hot pan. Immediately tilt and swirl the pan so the batter coats the entire surface as quickly as possible. Cook until lightly browned, about 1 minute.
- Flip crepe, cook for another 1½-2 minutes. Transfer to a plate.
- Return pan to heat, add more oil if needed. Using paper towel continue wiping away any excess oil and flecks of cooked crepe batter.
- Repeat until all batter is used stacking crepes on top of each other as you go. Cool completely before assembling Crepe Cake.
ASSEMBLING CREPE CAKE
- Place 1 crepe in center of serving platter.
- Spread filling over the crepe being careful it is thin in the center but goes right to the edges of every crepe.
- The goal is a flat cake, not high in the center and drooping around the edges.
- Add each crepe and repeat until you have used up the filling. We found 24 crepes made a nice high cake and you can go up from there as you gain experience.
- Refrigerate at least 2 hours before serving.
- Garnish with unsweetened whipped cream and fresh strawberries.
Notes
__________________________________________________________________________
New here? Subscribe and get your FREE resource, the tips I wish I knew when I started cooking gluten free.
Looking for more help with gluten-free cooking? Check out our Cooking Classes.
_________________________________________________________________________

Leave a Reply