


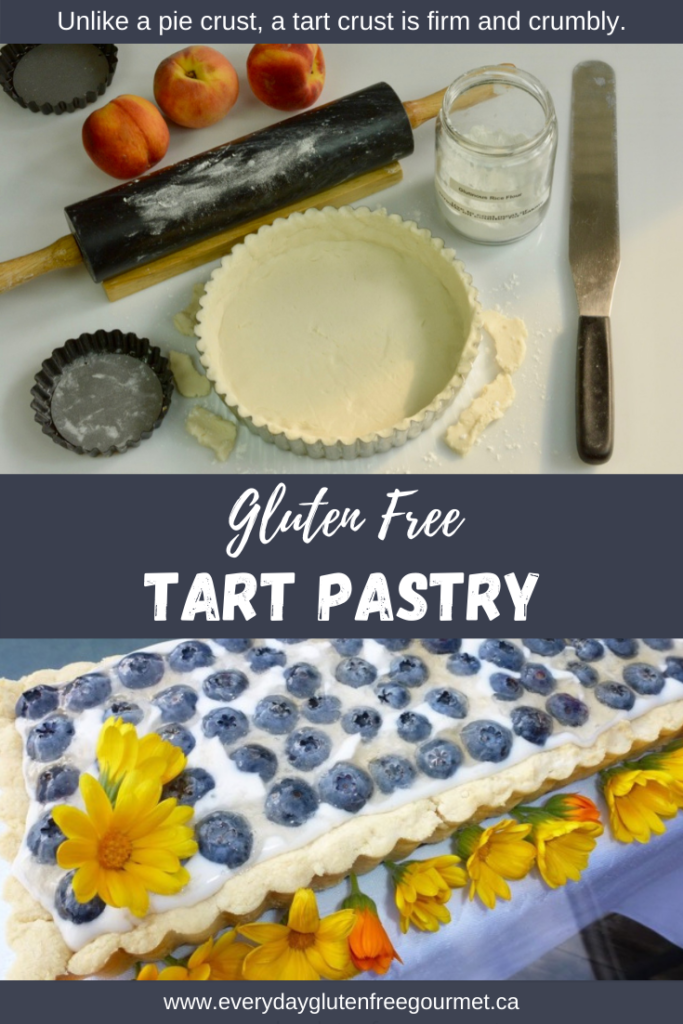
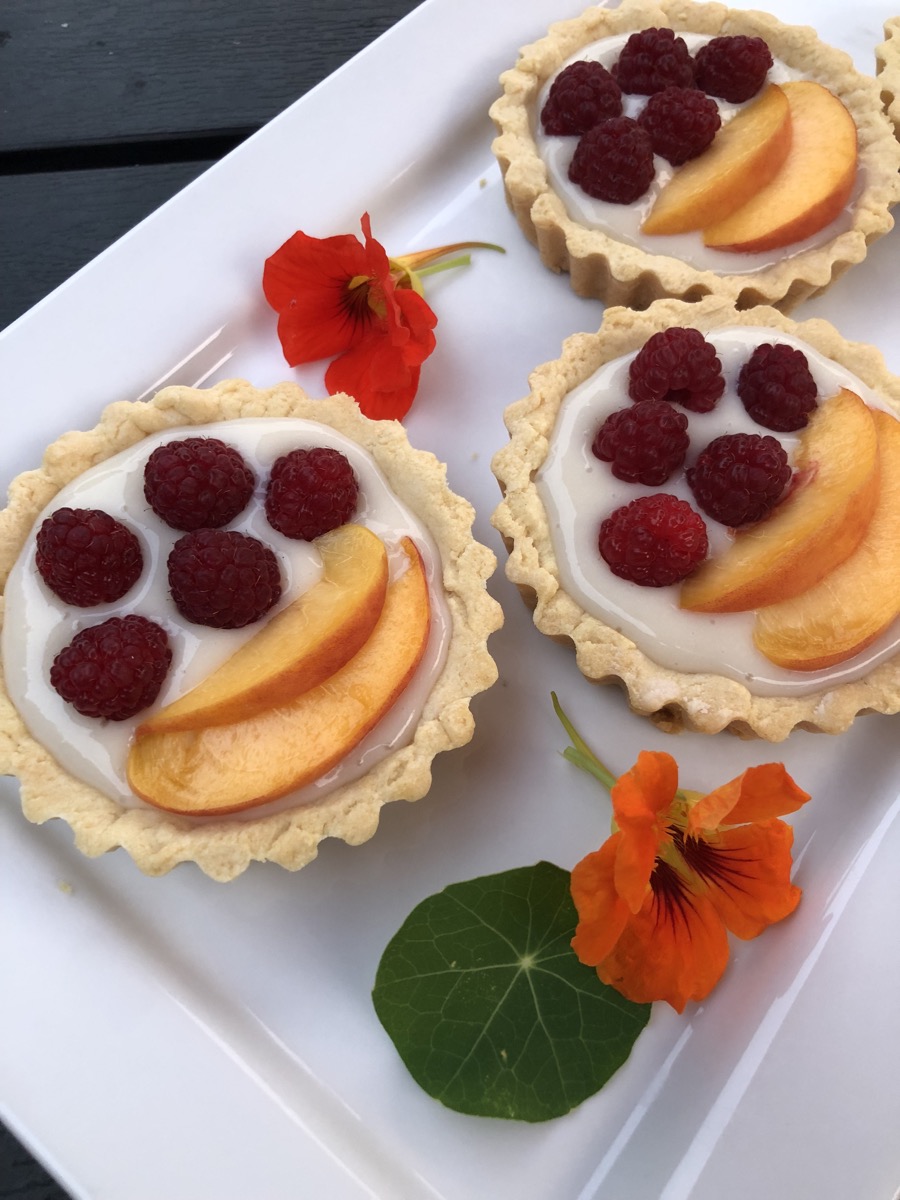
Unlike flaky pie pastry, this gluten free tart pastry has a crisp, crumbly cookie-like crust. Tarts have no top crust and the pan has a removable bottom. I like making tarts because I love the possibilities for a gorgeous presentation.
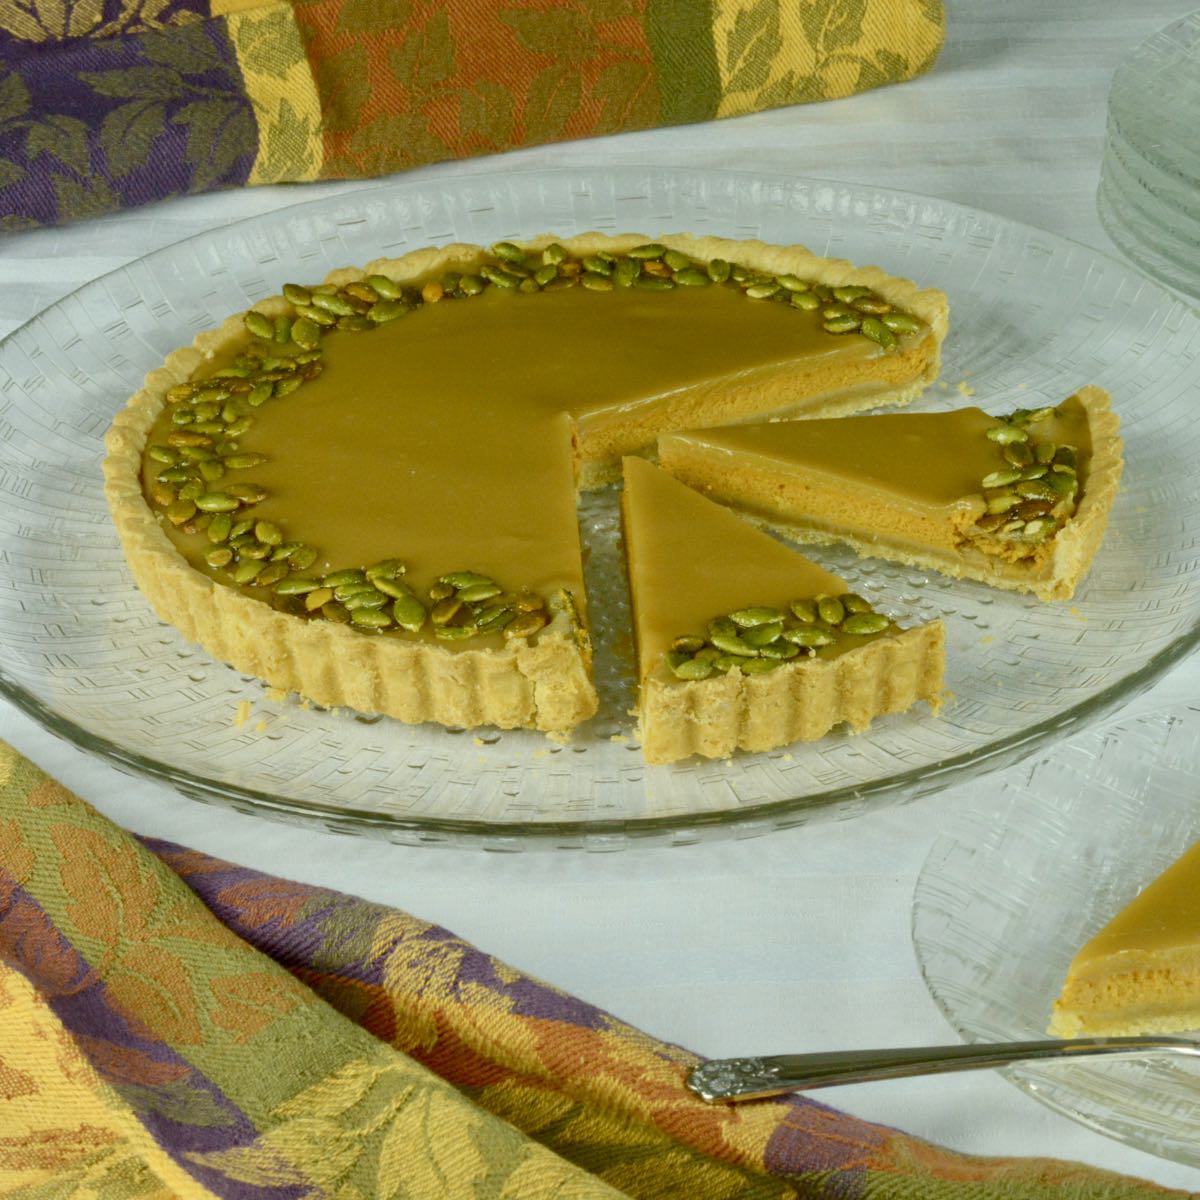
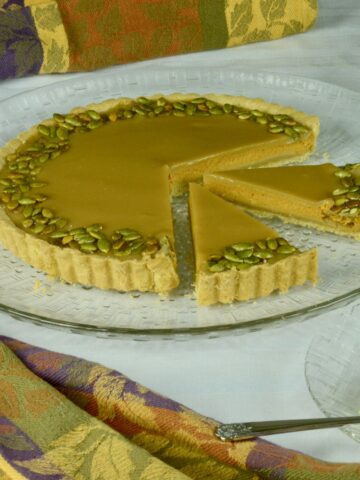
This is the pastry I use to make my Bourbon Caramel Pumpkin Tart with candied sweet and salty roasted pumpkin seeds. I also make tarts of different sizes filled with lemon curd or vanilla cream. There are endless possibilities for filling that are most often gluten free, you just need a crust recipe that works and this is it.
Jump to:
Ingredients
Tart pastry is like shortbread with a buttery flavour, fine texture and crisp, crumbly crust.
- Egg yolk and xanthan gum - Both add structure to the dough.
- Brown sugar - Helps make a slightly softer pastry than white sugar.
- Icing sugar - Gives the crust that shortbread-like taste.
- EGFG gluten free flour blend - Two starches in this blend create a smooth texture that melts on the tongue. Sweet rice flour absorbs liquid better than other rice flours.
- Butter - An essential ingredient for the rich, buttery taste of pastry.
- Vanilla - A small amount rounds out the taste in many baked goods.
See recipe card for exact amounts.
Substitutions & Variations
From individual tart pans to any size of round, square or rectangular pan; the variety comes in the pans you want to buy. I've got all shapes and sizes and have never regretted buying any of them.
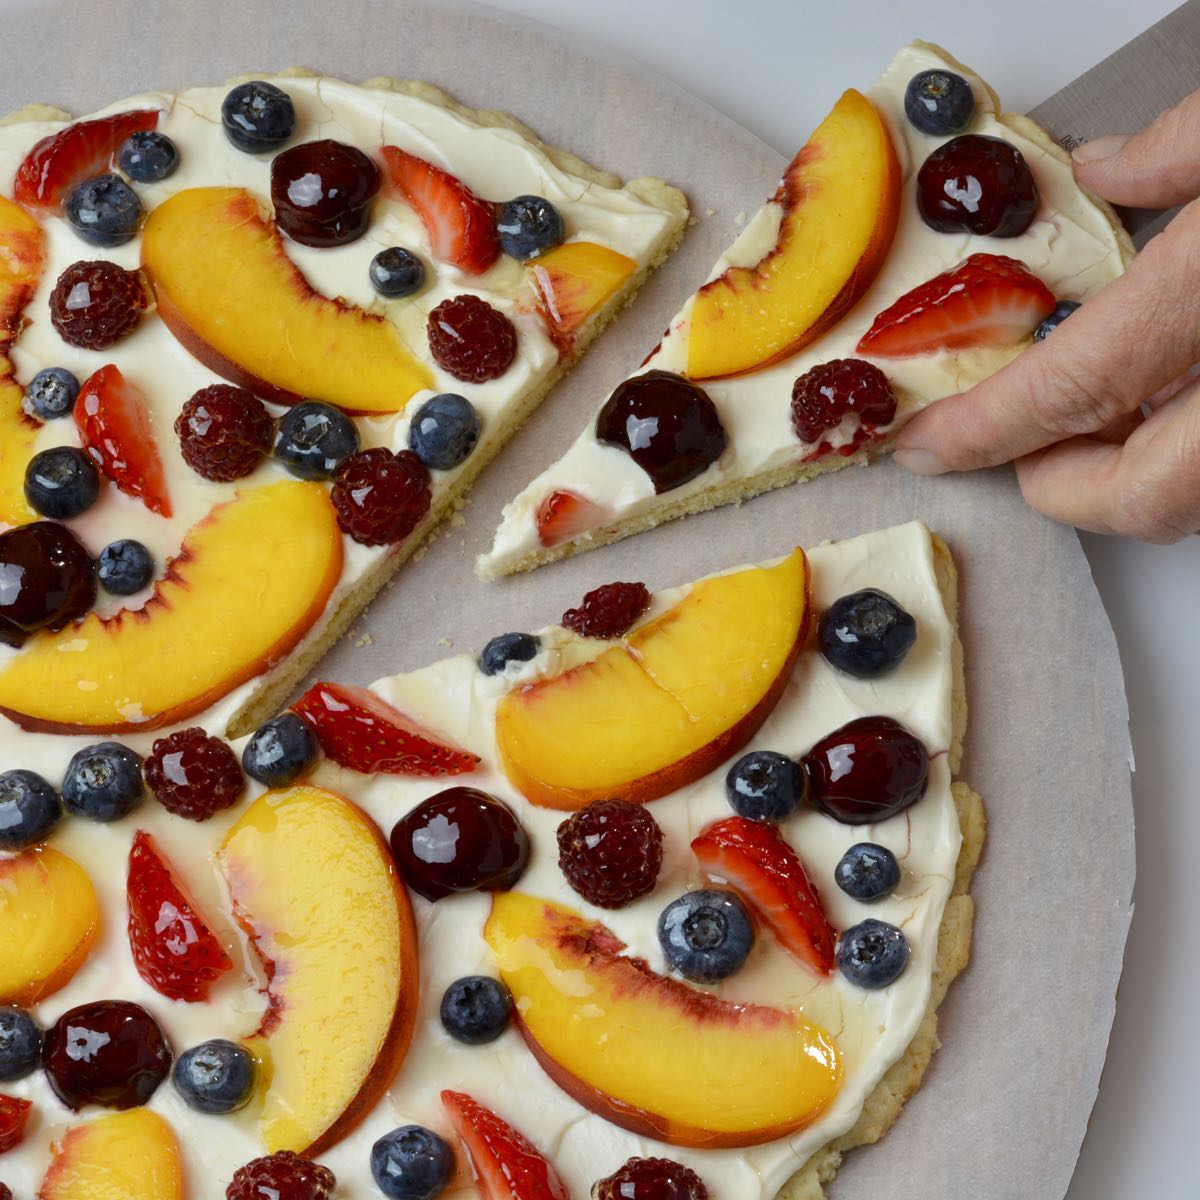
Fruit Pizza - My fresh fruit pizza recipe is made with individually weighed gluten free flours. When I was creating my Bourbon Caramel Pumpkin Tart I came up with this tart crust recipe made with my everyday gluten free flour blend. Cooking is always easier when you can use a flour blend you have in your kitchen.
Gluten Free Cooking Classes
If you're new to gluten free or want to speed up your learning check out our in-person cooking classes in Calgary. Another way to learn and get support from like minded cooks is to join our membership, Adventures in a Gluten Free Kitchen.
Tools: Best Tart Pans for Gluten Free Bakers
Tart pans have a removable bottom that makes the presentation special already. If you want to make tarts you’ve got to get tart pans. Over time I've collected different tart pans and made all the beautiful desserts I wanted to.
- I use a large 12-inch tart pan to make my Fruit Pizza and my Cookie Pizza. Remember, when you buy large tart pans you need large, flat platters to serve them on.
- Individual 3½-inch or 4-inch size tart tins always look fancy on a tray. I fill them with lemon curd or vanilla cream and put fresh fruit on top.
- A 9-inch round tart pan for a typical size dessert that would fit on most normal serving platters. This makes a smaller fruit pizza and you'll have a little extra pastry to make some small tarts too.
- Of course you can buy sets like this 9-inch round pan and 4 individual ones.
- I have a less common long, narrow rectangular tart pan that makes an impressive dessert! I then bought a similar shape serving tray and I store it in the box it came in. That box has been taken to many parties with a fancy tart in it and it's always the nicest dessert on the buffet. (At least that's what my friends tell me.)
Gluten Free Tart Pastry
Ingredients
- 1 egg yolk
- ½ teaspoon vanilla
- 210 grams EGFG gluten free flour blend* (1⅓ cups + ¼ cup)
- ⅓ cup firmly packed brown sugar
- ¼ cup icing sugar
- 1 teaspoon xanthan gum
- ⅛ teaspoon salt
- ½ cup cold butter cut into ¼-inch pieces
- 2 teaspoon cold water
Instructions
- Whisk egg and vanilla together, set aside.
- In a food processor add flour blend, brown sugar, icing sugar, xanthan gum and salt. Pulse a few times to combine.
- Scatter butter pieces over top and pulse the mixture until there are no butter pieces larger than a pea. Don’t over mix.
- With the processor running add egg mixture and mix until it just starts to form a dough.
- Add cold water, 1 teaspoon at a time, pulsing a few times until you have dough.
- Turn dough out onto wax paper or plastic wrap and push it into a large disk or two disks if making individual tarts. Wrap well with plastic wrap and refrigerate for 1 hour. (Can be made 1-2 days in advance up to this point.)
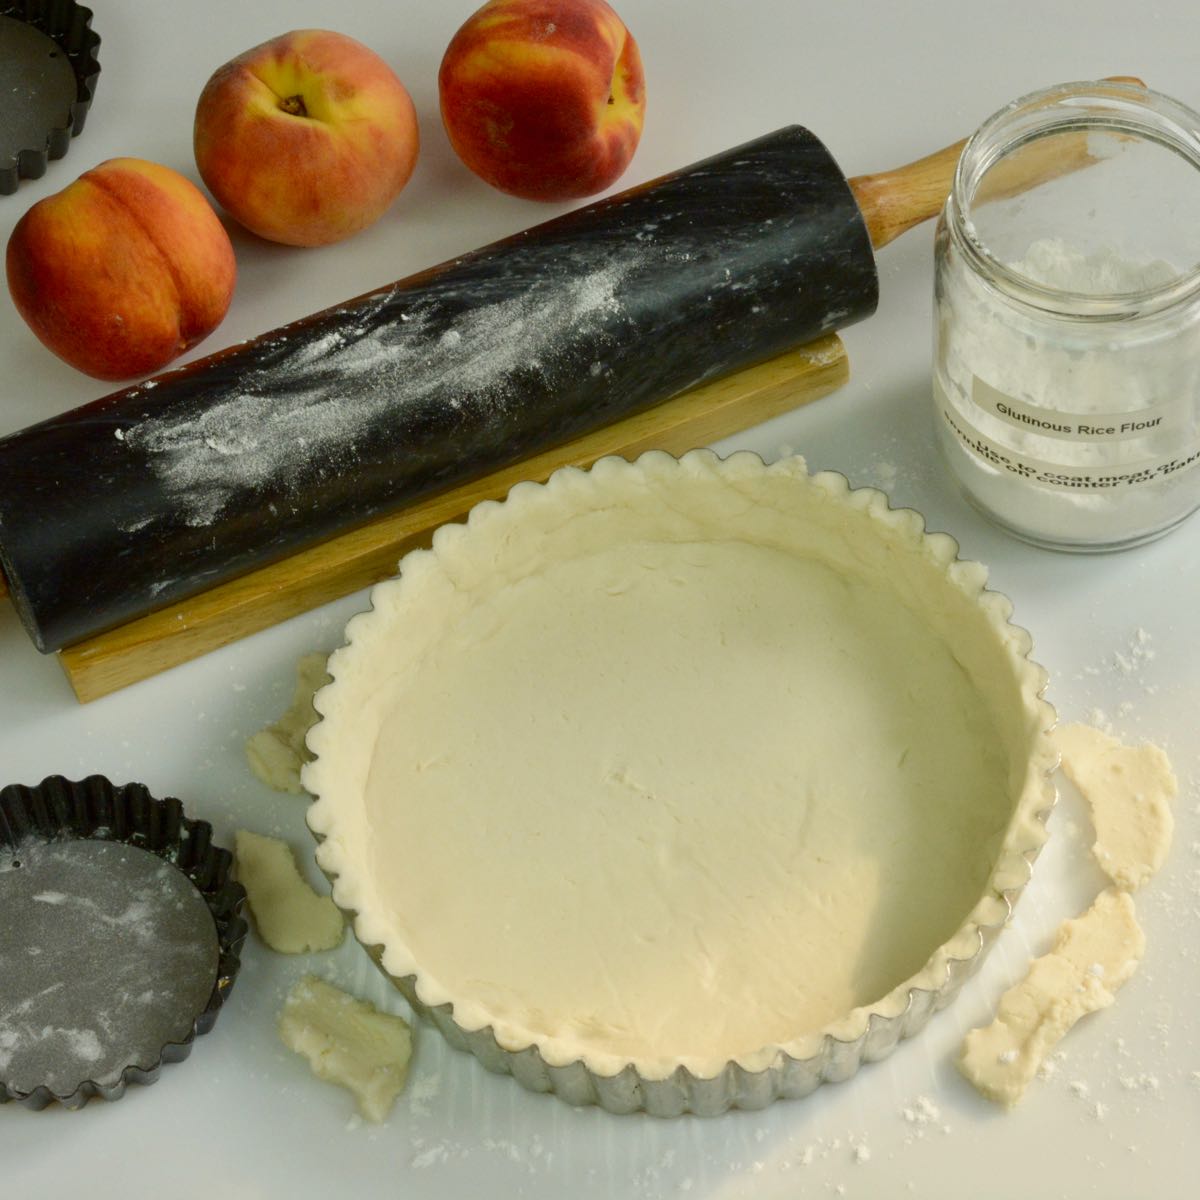
- Take cold dough out of the fridge. Lightly spray or brush tart pan(s) with oil.
- Top dough with a second piece of wax paper or plastic wrap and roll into a large circle 1 or 2 inches larger than your baking pan.
- If the dough is sticky put it back in the fridge until cold or use a small amount of sweet rice flour to continue rolling. Use as little sprinkling flour as possible since too much can make the tender dough tough.
- Remove top sheet of wrap and place tart pan upside on pastry. Push it into the dough then flip the whole thing over with the aid of a large cookie sheet or cutting board. The dough will be in the bottom of the pan. Remove the wrap.
- Lightly press scraps of dough into the edges of the pan to make the sides. Using a flat bottom glass or measuring cup, gently run it over the entire bottom and up against the sides of the pan to ensure the dough is as even as possible.
- Refrigerate for 15 minutes before baking.
PREBAKING TART SHELL
- Preheat oven to 350°F.
- Place tart on a baking sheet. Line tart with foil and top with pie weights (raw rice or dried beans). Bake for 15 minutes then carefully remove foil with pie weights. Return to oven and bake until firm, about 10 minutes.
- Cool on wire rack and continue as directed in your recipe.**
- To serve, gently remove outer ring of cooled pan. Using a thin metal spatula/icing spreader slide it between the bottom of the pan and the cooked tart. Gently transfer to serving platter or cutting board. Cut and serve.
Notes
Nutrition
Recipe FAQs
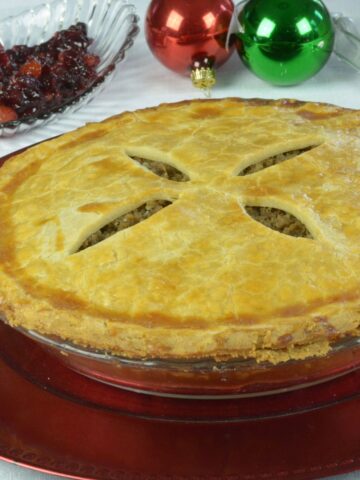
No, tart pastry and pie pastry are not the same. While all raw pastry can be called dough tart pastry is crisp and cookie-like. Tarts are also thin and typically made in a pan with a removable bottom. Pie pastry is flaky and tender. It's the kind of pastry used to make apple pie, quiche, pot pies, meat pies and more.
__________________________________________________________________________
New here? Overwhelmed or frustrated with gluten free? Get started with this guide to understanding gluten free flour. I guarantee, you can learn to cook gluten free food everyone wants to eat.
🎉 Exciting news! Adventures in a Gluten Free Kitchen, a membership for gluten free cooks who want to learn together, is here. Click to learn more!
_________________________________________________________________________
Linda Mannister
Typo in instruction # 4
I think it should be “add egg mixture…”
Love your site!
Cinde Little
That's corrected now Linda, thanks for letting me know. I don't like typos!